Advanced Multicolored Glass text in Photopaint!
Jay is going to pass out when he notices I’ve written a fresh Corel tutorial for Twodded, but after a request from a very good friend of mine came through for how I make my multicolor glass text, I decided now would be a good time to freshen up my tutorial writing skills. *snicker* This particular style of text is quite similar to the other shiny effects I’ve used in a couple of tutorials, except I play with a lot of contrasting alterations to create the multiple hues and vibrant colors the text usually has. This isn’t actually very difficult, but it requires a lot of experimentation to find a combo that works with your image.
You see, the entire concept relies on using a single image to create all your multiple hues, so depending on the color/lighting attributes of your image, the settings I use may completely backfire for you. Now now… no need to worry! I’ll walk you through each painful step, and let you know when it’s time to break free of the mold and try different settings to get the right effect. After all, you’re not a lemming are you?
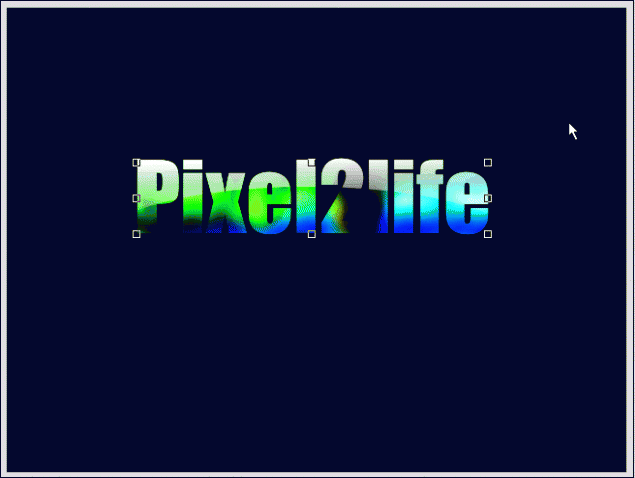
So, here is the effect we’re going to create:

Now don’t let the length of this tutorial fool you… I just like turning simple things into novels. Once you learn this technique and don’t need to read through each step, you should be able to do this in about 5 minutes.
FINAL NOTE: I am assuming you have some basic experience in Corel Photopaint and I do not have to explain some of the simple principals such as what the “Object Docker” is and such… if you’re not sure on some steps, please review some of my older tutorials that cover these basic tools and tricks.
Shall we dance?
Part 1 – Creating the Text Overlay!
First thing we need to do is create our pattern for the text overlay. Basically we’re going to make a blurry colorful object, then slice it into the desired text.
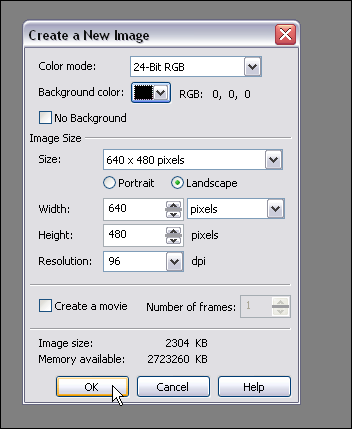
Step 1: Fire up Corel Photopaint and create your new document. For our text, I’ll be using the following settings:
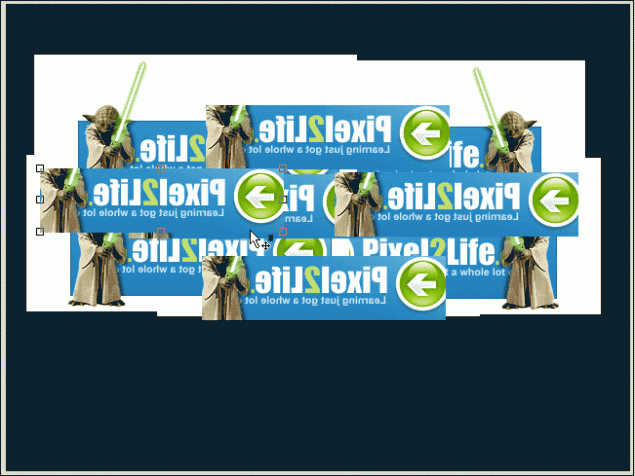
Step 2: Pick an image that you like and paste it all over the place… feel free to just use parts of the image, flip it around, invert it etc… just play around and drop stuff randomly. You can also use various images, so it’s really up to you at this point. I decided to just grab my sig from the P2L forums and dump that around a few times in various positions.
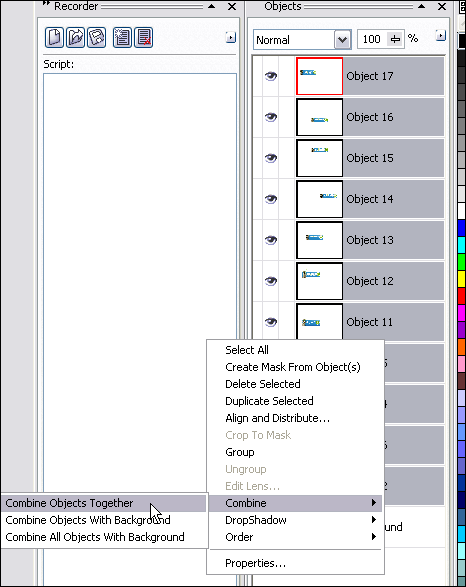
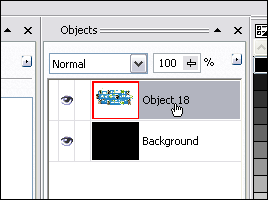
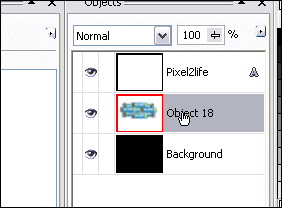
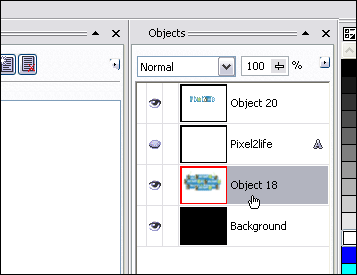
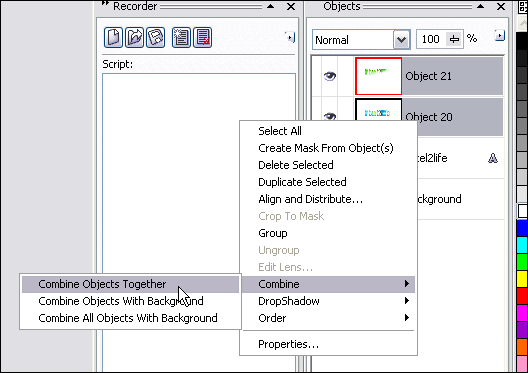
Step 3: Once you’ve got everything pasted the way you like it, select all the objects in your Object Docker and combine them to a single object layer.
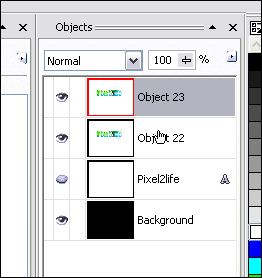
You should now only have 2 object layers… the background and the object with your image(s) pasted in various positions.
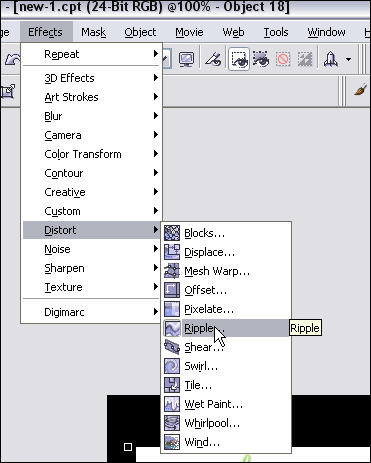
Step 4: Time to distort our text and mess around a bit. I encourage you to try using all kinds of distortion effects and not just follow what I do. You can get all kinds of great results just by trying a few random filters you’ve never played with before! I’ll start off by using the Ripple Effect.
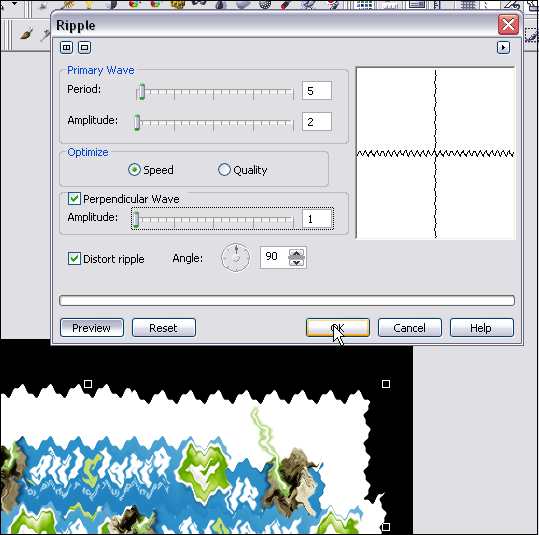
I used the following Ripple settings:
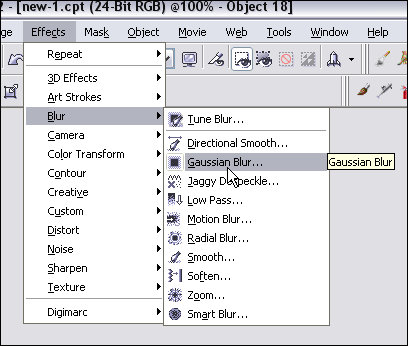
Step 5: Once you’ve distorted the images to your satisfaction (I’m easily pleased), you’ll need to blur it up to get the soft vibrant colors in the text. I’ll use a Gaussian Blur effect for this step.
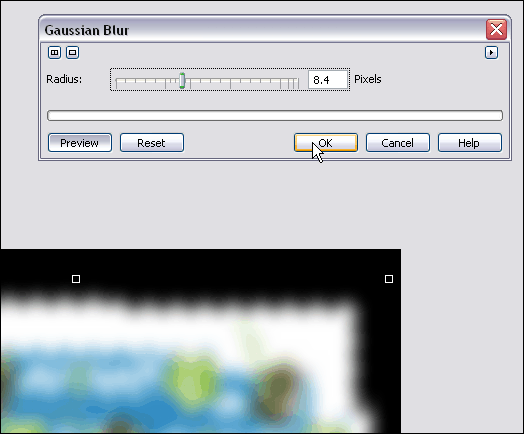
My settings for Gaussian Blur:
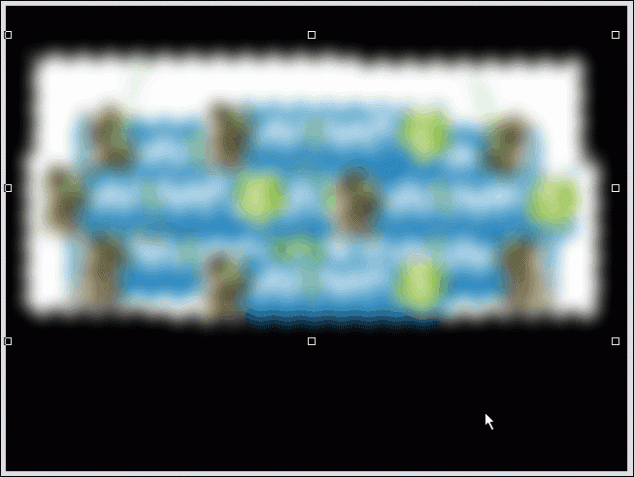
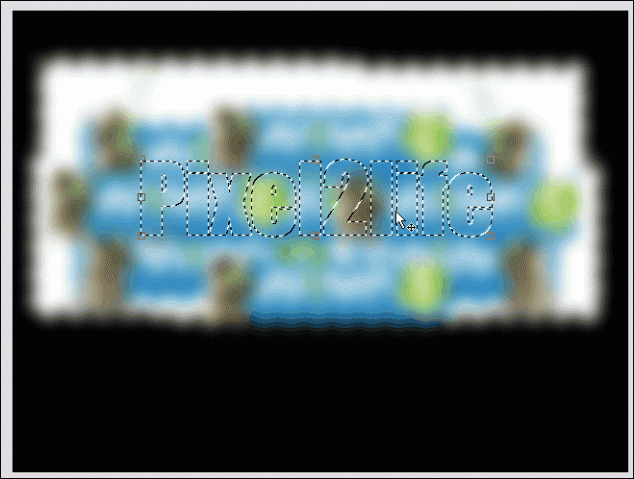
And the final result (Ignore the gif formatting with the poor blending in these screenshots… when you’re working in the program, it should stay nice and smooth for you. I reduced the quality to keep this tutorial down in size):
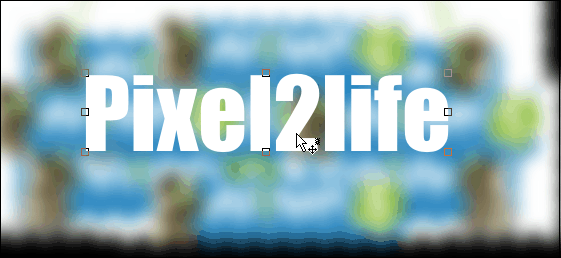
Step 6: Add your text! Select a nice font (Thick fonts are always more effective, but you can use whatever you like) and type out your message. The color you use doesn’t matter in the slightest, so use whatever tickles your fancy. I’m going to use Impact for this one.
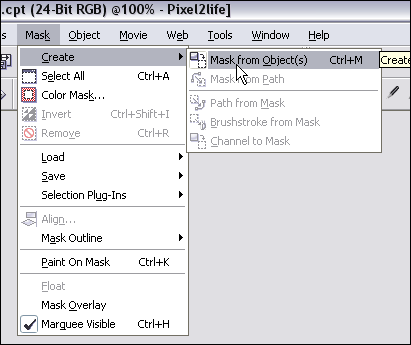
Step 7: Now create a mask around your text.
Step 8: Select the blurred image on the object docker… we’re going to cut a piece out of it with the mask we’ve created!
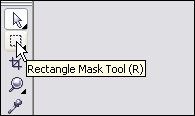
Step 9: Make sure you have the mask tool selected… doesn’t matter which one, but make sure you have it selected instead of the Object Picker. If you don’t, the next steps will have you reaching for the bottle of Tylenol.
Now hit Ctrl-C then Ctrl-V to Copy/Paste the masked area and POOF! You’ve created some overlay text!
Part 2 – Working the Text!
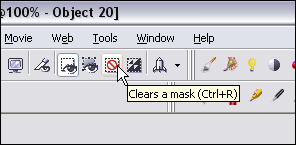
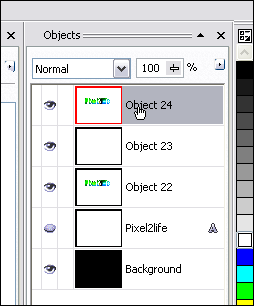
Step 1: Let’s clean up the object docker a bit… we’ve got some goodies we don’t need in there. Start by removing the mask.
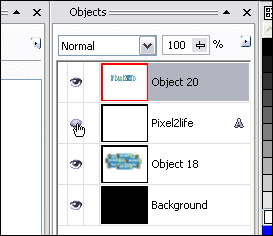
Then hide the original text object in the Object Docker by clicking on the hide object icon.
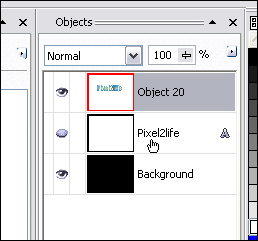
And finally, select the blurred image object and hit delete to remove it.
Now you should have a nice tidy Object Docker! Don’t worry… it’ll get real messy in a sec! Just click on the text overlay object and we’re ready for the next step.
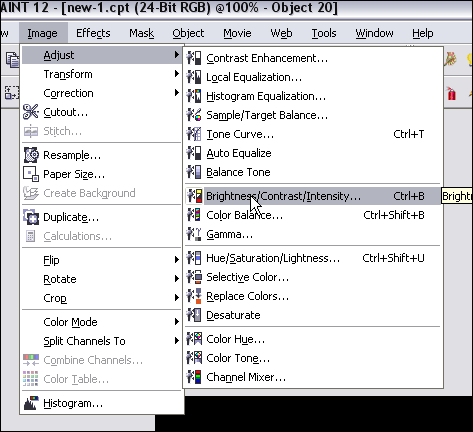
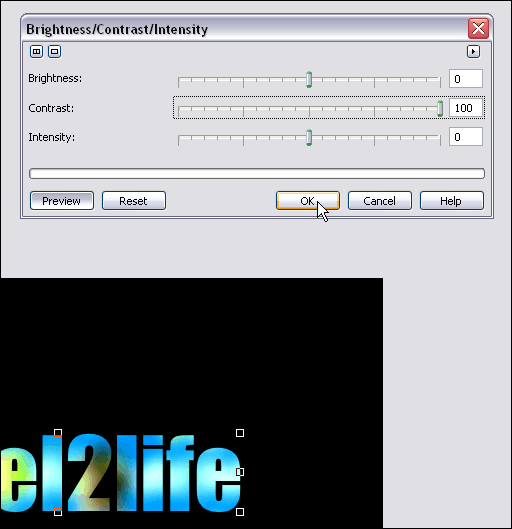
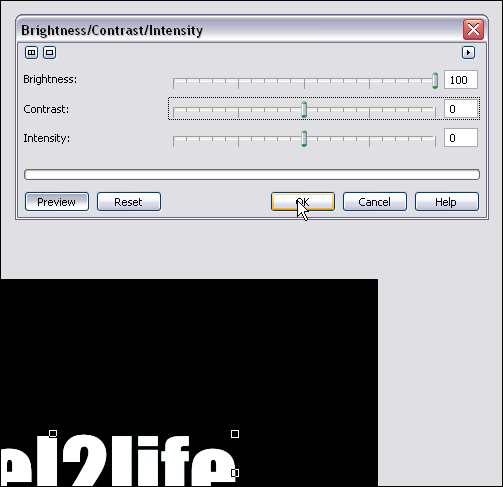
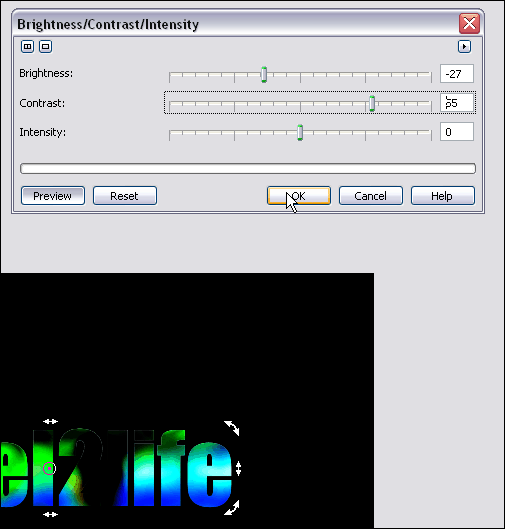
Step 2: We’re going to start off by cranking up the contrast on our overlay text to enhance the color and just brighten the text right up. Now, THIS is where you need to experiment. I suggest cranking up the contrast all the way up, but play around with the Brightness slider until you see something you like. If your image is very dark, I suggest you turn up the brightness quite a bit, apply it, then re-run the tool and increase the contrast. Like I said, you have to play around with this.
So, here’s what I did with my text:
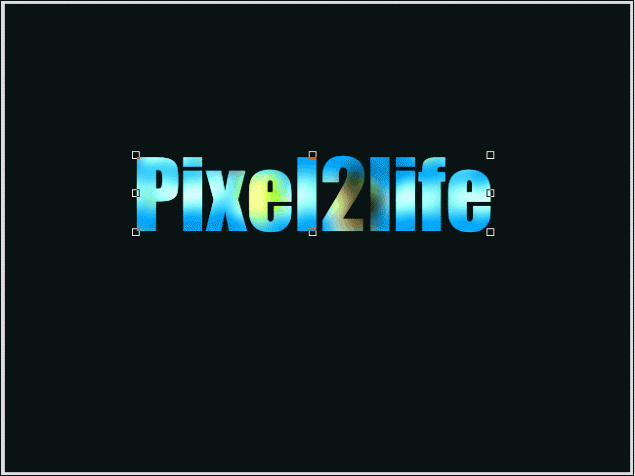
This is what I have so far:
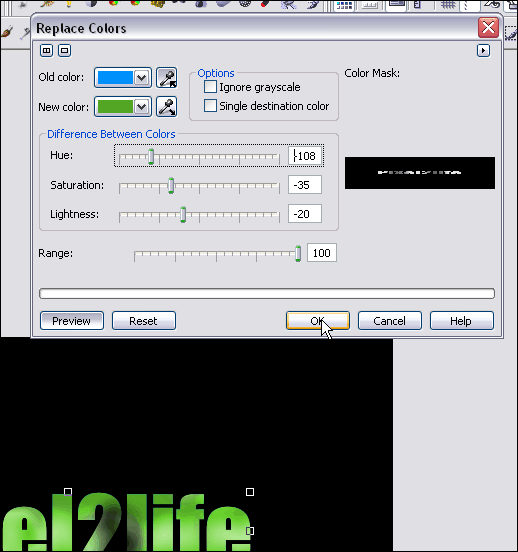
Step 3: Once you have the text the way you like it, hit copy/paste again and make a second copy of your text. Feel free to play with the Brightness and Contrast again, or in my case, I’m going to replace the colors with a green cast. You can also just adjust the hue… works quite well.
Here are the settings I used for the color replace:
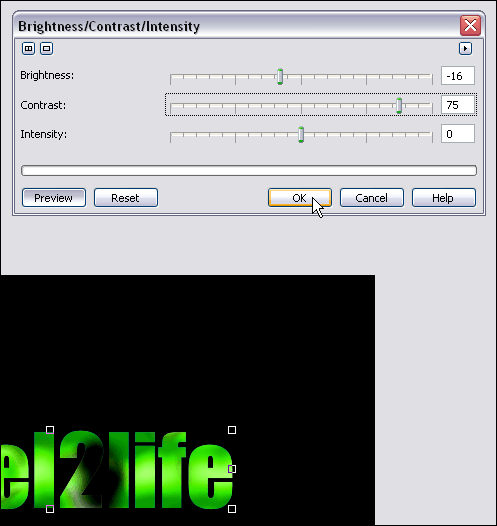
Step 3: I then take my green text and crank up the contrast yet again:
Step 4: Now it’s time to blend our two text objects together and make everything purdy! For those of you that follow my tutorials, you know what time it is! Time to break out the Interactive Object Transparency Tool!
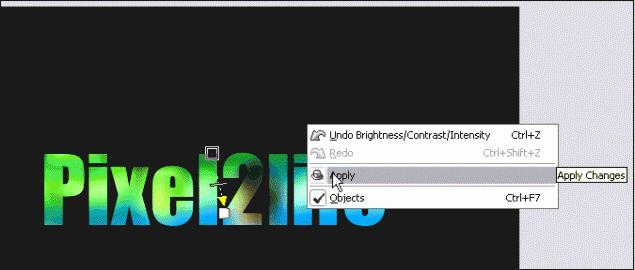
I faded my green text downwards and slightly to the right. Once you have your fade gradient the way you like, apply the settings.
NOTE! If you don’t know how to use the Interactive Object Transparency Tool, I recommend you check out step 7 of THIS tutorial for detailed instructions on how to go about it.
Once you’ve set your transparency gradient, use the object docker to combine the two text objects together.
Step 5: Getting close! It’s time to create the “shine” part of our text! Select the text object in the docker and do another copy/paste to create a second object.
Step 6: Pump the brightness all the way up on this object to make it all white. Make sure the other sliders are set to 0.
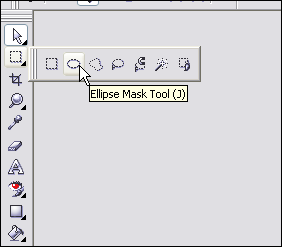
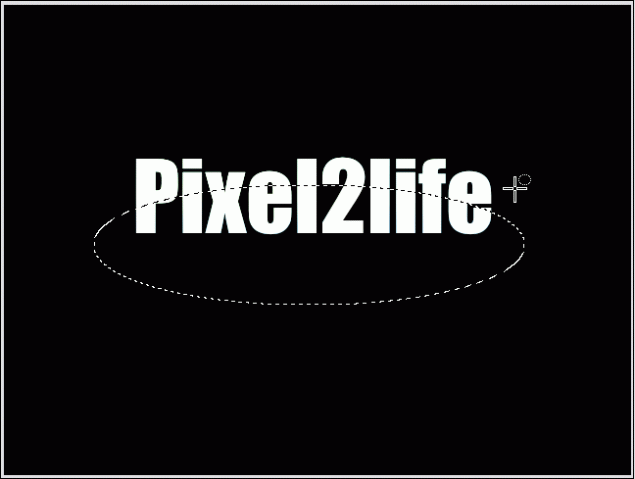
Step 7: Using the Ellipse Mask Tool, we’re going to cut out a chunk of the white text for our shine effect. Start by selecting the tool:
Mask off an area like this:
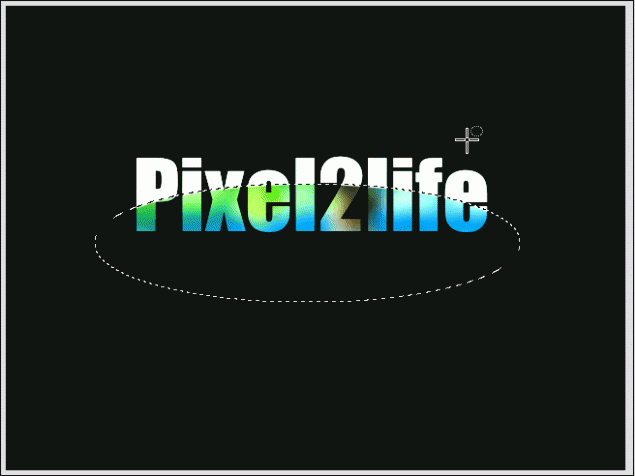
Hit delete to cut out that part of the mask:
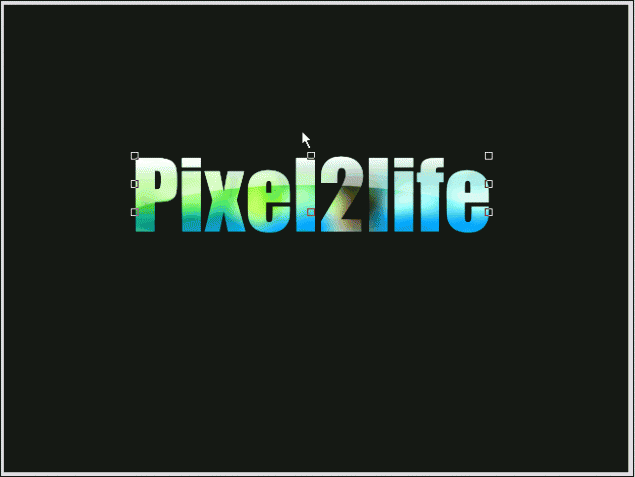
Step 8: Once again, use the Interactive Object Transparency Tool to fade the “shine” part downwards like this:
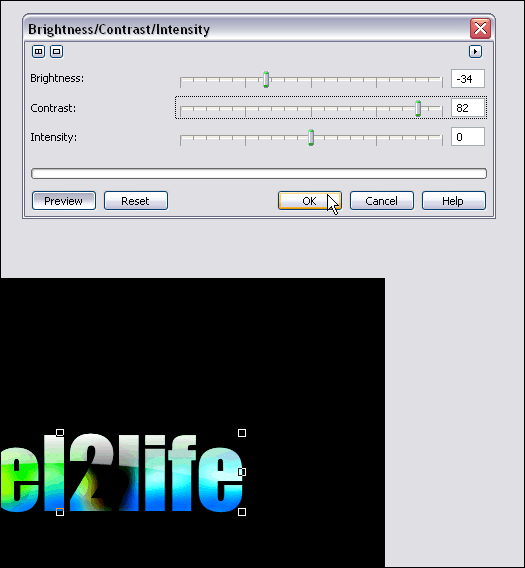
Step 9: Time to play with contrasts and objects again! This is just to tweak the text a bit and get it to a level I like. I’ll start off my clicking on the text object and re-adjusting it’s contrast.
Step 10: Create a second copy of this text by hitting copy/paste again.
Step 11: Tweak this object’s contrast… I want to use this to darken up the bottom of the text a bit.
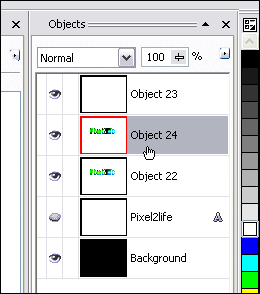
Step 12: Move this object down one level so the shine is once again visible.
Step 13: Now this time around, use the Interactive Object Transparency Tool to fade the top layer upwards. This will give your text a brighter upper area and a darker bottom.
Part 3 – Finishing Touches!
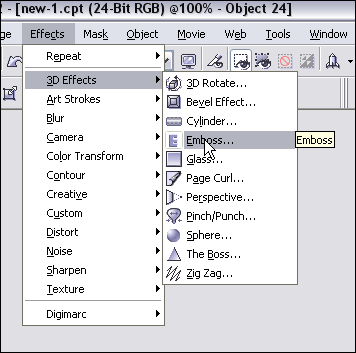
Step 1: Combine all your text objects together and delete any hidden objects you have still in the Object Docker. You should only have 3 objects at this point… the background, the text object and the shine object. Click on the text object and we’ll apply a slight emboss effect to it.
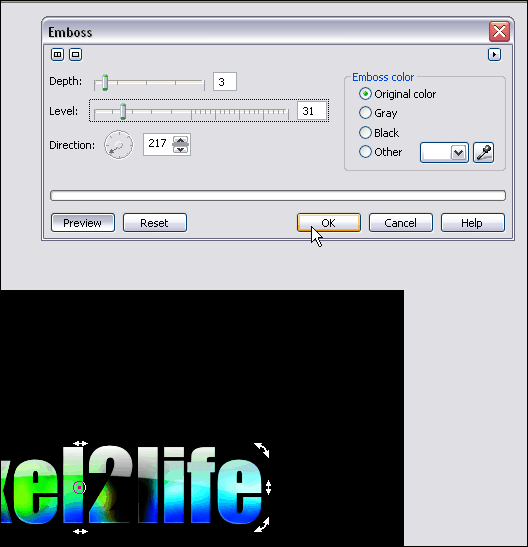
Here’s the settings I used for the emboss:
And we’re done! I added another layer of colored text and added a shine effect (Check out this tutorial to learn how to create a text shine effect) Here’s my final result:
I hope you enjoyed this tutorial and as always, keep experimenting when you draw and have fun! Until next time, have a safe and happy holiday and I’ll see you in 2006!
Dan
