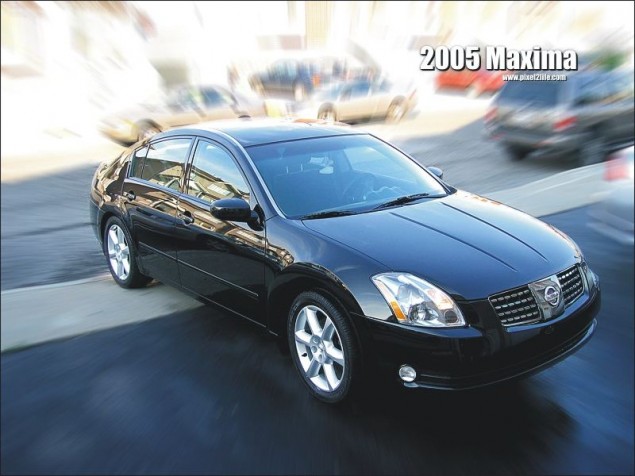
Action Blur – Give static photos a sense of motion and action
Today’s tutorial is a rather simple effect that I’m sure pretty much anyone has seen, either as a Photoshop tutorial, or an effect used on a poster or some other form of printed media. It’s a simple but very effective way to add some dynamic motion or action to an otherwise fairly static and boring image. The tutorials I’ve seen for this trick all use the radial blur in Photoshop, so I thought I’d whip up a quick tutorial for the Corel PhotoPaint minority out there. We’ll basically need to do some tedious masking and run a filter and that’s the end of it. Nothing strenuous here folks!
Before we go any further though, I just want to point out that this tutorial has a few extra steps involved that what is truly necessary. I’m going to be masking and copy/pasting new objects as I work through the tutorial. Those steps aren’t really necessary, but if you plan to do some photo manipulation once you’ve applied the blur, you’ll need the background and object on separate layers. If you just want to create the effect without all the steps, just mask off the object, invert the mask and then apply the blur.
But hey, I like to complicate things, not to mention it’s my tutorial 😉
Let’s get started!
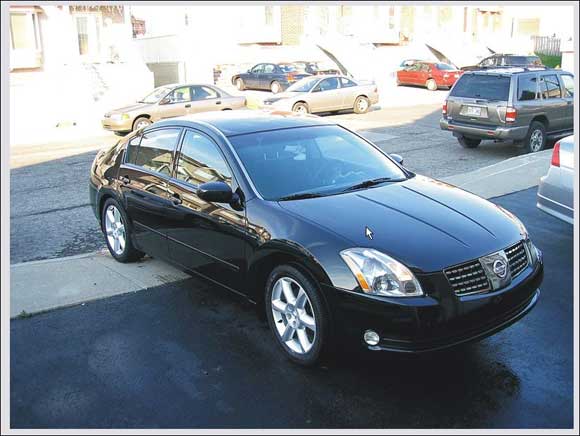
For this tutorial, I figured why not apply this filter on a Photo to create something you see quite a bit. A car ad! So just for this tutorial, I grabbed my digital camera, opened the front door and snapped a photo of my car. This just goes to show you how you can apply this to pretty much anything you want.
So here’s our photo:
STEP 1 – Creating the mask
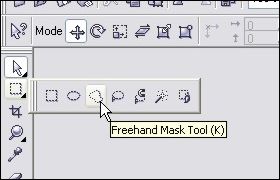
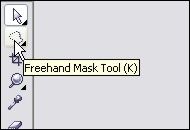
A) First thing we need to do is create a mask around the car so we can start duplicating the foreground and background areas to apply the blur. So go ahead and select the Freehand Mask Tool from your toolbar or simply hit ‘K’.
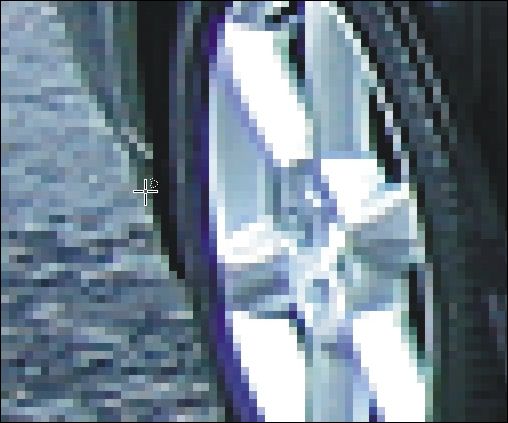
B) Zoom right in (300% or more) and click on the spot when you want to start your mask. In the case of this tutorial, I started the mask on the back of the rear left tire and I’m going to work my way around the car clockwise.
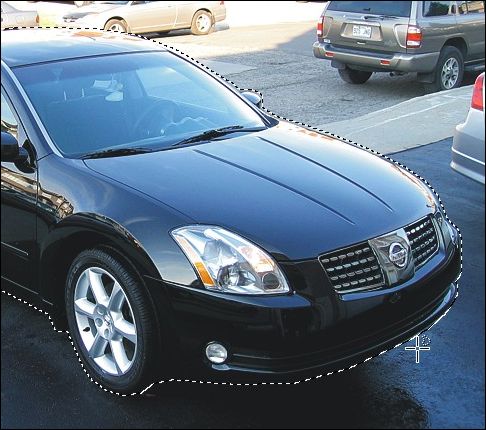
Now you have two ways to use the Freehand Mask Tool, and it really doesn’t matter how you decide to do it. Just use a technique you’re comfortable with. Method 1 involves the truly freehand method. Click and hold the left mouse button where you want to start your mask and then start to move the cursor around the edge of the object. The mask will draw itself as you move around the edges. To stop drawing the mask, release the button and you can move the mouse freely without drawing the mask. Click back down again to start drawing the mask out from where you left off. When you’re done, double-click the spot where your mask ends (should be right next to where you first started) and the mask will close itself and you should now have a complete mask around the object.
Now, I personally hate this method and feel that you have to have the steady hand of a neurosurgeon to pull it off. I definitely use method 2 unless I”m in a huge rush and don’t care if things get sloppy.
Method 2 is essentially the same thing as method 1, except rather than drawing the mask with your mouse, I click my way around sort of like a game of Connect the dots. I click on the spot where I want the mask to start, move to the next spot and click again to join the two points together. It’s a slow way to do it, but it’s precise. The more curves you have, the more you have to click to keep those curves smooth. When you’re done, double-click the spot where your mask ends (should be right next to where you first started) and the mask will close itself and you should now have a complete mask around the object.
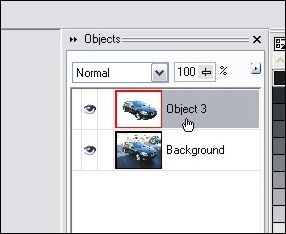
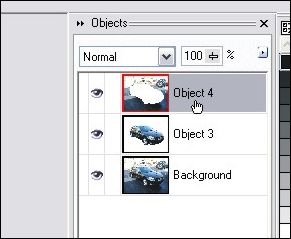
STEP 2 – Let’s add the car to it’s own layer now that we have it all masked off. Hit Ctrl-C then Ctrl-V to copy/paste the masked off portion as a new object. You can see in the object docker that we now have a background layer and new object layer with the car in it.
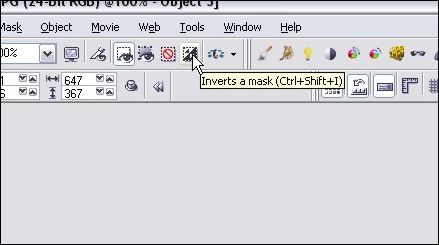
STEP 3 – Next we will need to clean up the new car object layer slightly and then add the background we want to blur to a new layer. Click on the Invert Mask button on your toolbar or hit Ctrl-Shift-I.
STEP 4 – When I pasted the car as a new object, my cursor changed to the Object Picker tool, but we still need to make changes to the masked area, so select your Freehand Mask Tool icon again.
After you’ve selected the mask tool, hit Delete and this will clean up the edges of the car object layer. When you invert a mask, the mask itself moves a couple of pixels over onto the object you had masked off initially. When you delete, you’re cleaning up a 2 pixel edge or so. To see what I’m talking about, zoom in to the edge of the car and hit Ctrl-Z to undo the delete. You’ll see the edge that you are removing with this step.
So once you’ve cleaned up the object’s edge, move on to the next step!
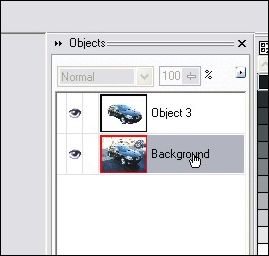
STEP 5 – Click on the background layer on your object docker.
STEP 6 – Hit Ctrl-C then Ctrl-V to copy/paste the background we want to blur as a new object. You?ll see a third layer has now appeared on the object docker:
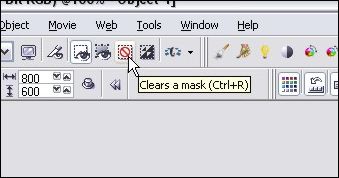
STEP 7 – Remove the mask by clicking on the Clear Mask button or just hit Ctrl-R.
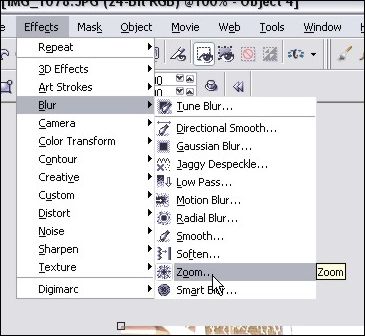
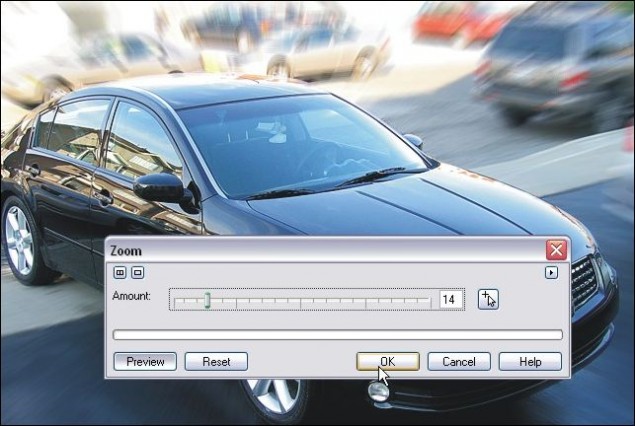
STEP 8 – Time to run the blur! Click on Effects > Blur > Zoom and play around with the blur intensity until you find a setting you like. Here’s my settings:
All done!
Your boring photo should now have an optical effect that provides action or motion to the overall feel of the image. Add text and some other effects and you can put yourself together a nice little ad and start selling your car (Or your parents’ car) 😉
Here’s the final result without any playing around:
Hope you enjoyed the tutorial, please feel free to use the buttons below to share or comment on this tutorial!
Dan
