The Color Transparency Tool in Corel Photopaint – Delete specific colors in a single click!
I would like to start introducing you guys to some of the less-used tools in Photopaint, which can be huge time savers if you know how to use them and what they do. Today I am going to write about the Color Transparency Tool, which is a VERY fast replacement to the tedious chore of using the magic wand tool to isolate specific areas of color to delete them. You see, with the magic wand tool, you have to click each area of color you want to delete if they are not all connected. So, let’s pretend you have an image with a black background with a blue line going across it. To delete the black, you would take your magic wand tool, click on both sides of the image where the black is to mask it, then hit delete. Now this is very simplified, but imagine a much more complicated scenario. Well, with the Color Transparency Tool, all you would have to do is click on any area that is black, and *POOF* all the black area in the photo will be removed, all with a single click.
So, let me show you how this works…
Step 1 – First, we need a photo or something we want to edit. I did a Google search for random images and decided on this cute photo of a Panda cub and his mother:
The Color Transparency Tool only works on objects, so you first need to convert this photo to an object. You can do so by clicking on Object > Create > From Background and this will turn the photo background in to an object within the object docker.
Step 2 – We’re ready to start 🙂 Just go ahead and click on the Color Transparency Tool or just hit 2 on your keyboard to activate the tool:
You can use the properties bar to see the additional options that come with this tool… you can use these settings to modify how the tool behaves when applied to your image.
The first setting I want to show you and the one you will play with the most is the Tolerance setting. The lowest tolerance (0) will select only the exact color you clicked on. The more you increase the tolerance, the greater the range of hues of your base color will be selected. Let’s go with 0 Tolerance and you will see how it works:
Step 3 – Go ahead and click on a color in the image… I selected this image because I wanted to delete the black colors and replace them with something outlandish! So, lets click on the black and you will see that only the areas that are the exact color I picked will be removed.
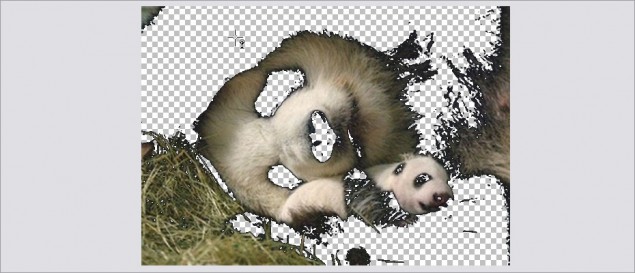
Step 4 – This time, I want to select all the dark black areas in the photo, so I will increase the Tolerance to 8:
And here is the result… notice all black areas throughout the photo are gone just by clicking in one spot:
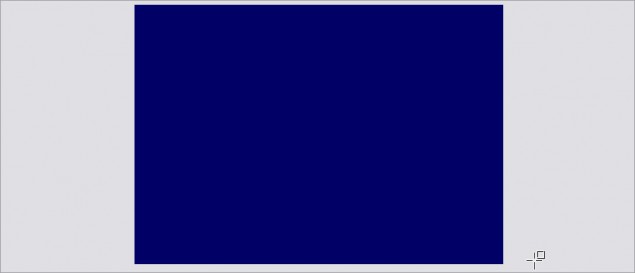
Step 5 – Now I’m going to show you how you can use this tool to create some interesting effects… bear (no pun intended) in mind that the color is transparent, so you can easily create some fun effects by placing objects under this layer. As a crude example, I’ll pop a rectangle object under the picture to show you what happens. First, let’s draw a rectangle the size of our canvas:
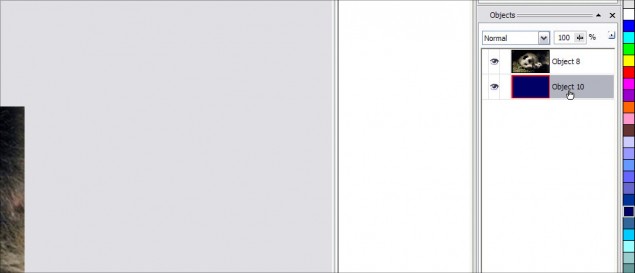
Then be sure to place the rectangle object UNDER the photo object in the object docker:
And here’s what you end up with:
And that’s it! So here you have a quick and easy way to delete specific colors to varying degrees throughout a photo or image all with one click. Nice little time saver eh?
Thanks and please comment!
Dan


6 thoughts on “The Color Transparency Tool in Corel Photopaint – Delete specific colors in a single click!”
Thanks a lot! That was helpful! 🙂
Thanks! Exactly what I needed.
Really Great WOrk,, Thanks!!!
That was just what I needed too. Unraveling the mysteries of Corel photo Paint is a fabulous service. Thanks
thank you
Exactly what we needed to know. Thanks!