Smoothing Skin, Enhancing Eye Color, Sketch Effect, Contrast and Color Isolation in Corel Photopaint!
Welcome to another Corel Photopaint tutorial! In today’s lesson, we’re going to be using Corel Photopaint v12 to look at some of the basic tricks for editing your photos that are fairly common and should be part of your basic graphic knowledge. In this tutorial, I’m going to show you how to smooth skin like a magazine cover, how to enhance eye color with the airbrush, create a greyed out desaturated look with isolated colors, enhance photos with contrast, and finally, how to convert a photo to a pencil sketch. I’m going to cut down on repeating keyboard shortcuts and basic functions, such as how to copy/paste, so if you don’t know how to perform there simple functions, please read some of my older tutorials that details these areas.
Now the master plan here is to perform all these effects, one right after the other to create a final piece, but feel free to stop anywhere in this tutorial if you’ve already reached the desired effect. For example, the first part of this tutorial covers how to smooth out skin, so if that’s what you needed to learn, then you don’t really need to go any further. After that we’ll cover the eye enhancement and then just keep going through various tricks that can be combined into one final photo manipulation.
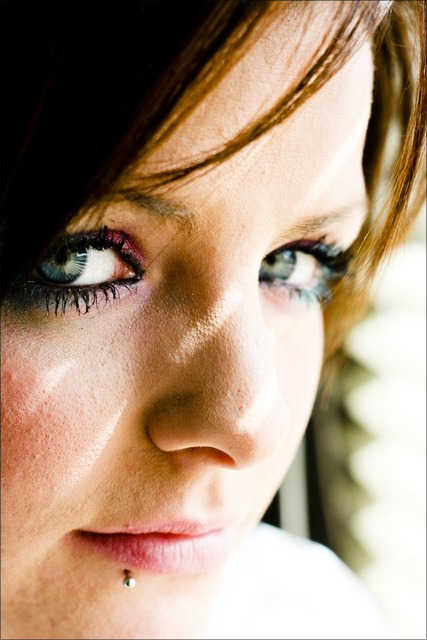
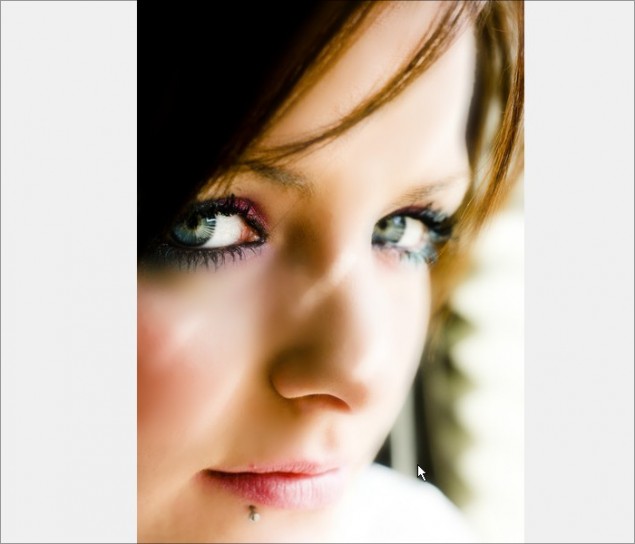
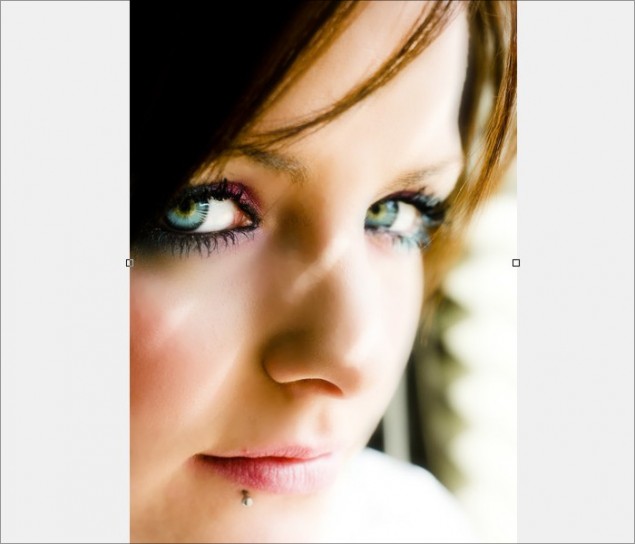
We’re going to start off with a photo I downloaded from a free stock website some time ago, which is of a beautiful girl with amazing eyes and textured skin that will work very well for this tutorial. The harsh sunlight really raised the bumps and pores of her skin more than an average photo, so this will work quite well for our lesson:
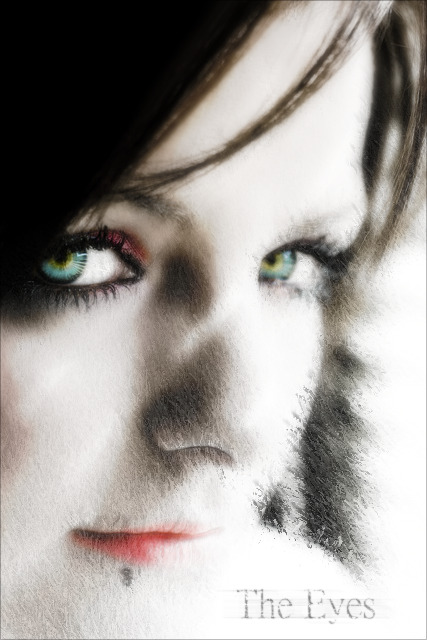
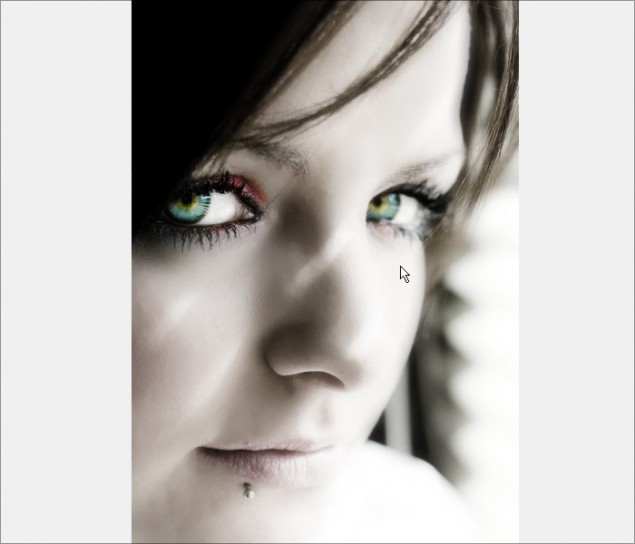
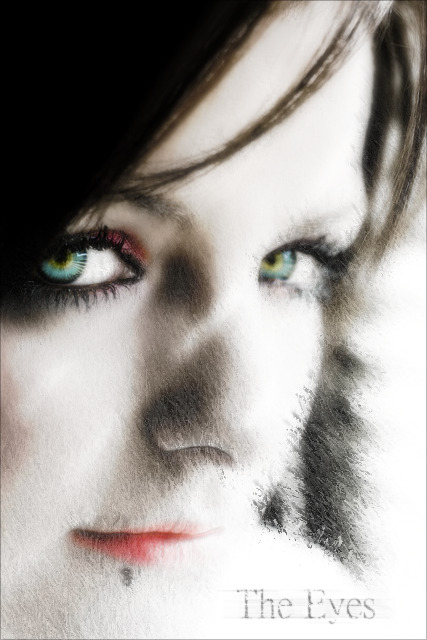
And once we’re done playing with all our tricks, we’re going to end up with a final photo that looks like this:
Now this is going to be quite a large tutorial with over 75 images in total, so we’re going to split this up into several sections and pages. I’m going to break this down as follows:
- Part 1 – Skin Smoothing
- Part 2 – Eye Enhancement and Airbrushing
- Part 3 – Desaturation and Color Isolation
- Part 4 – Contrast Enhancement and Softening
- Part 5 – Sketch Effect
So let’s get started!
Part 1 – Skin Smoothing
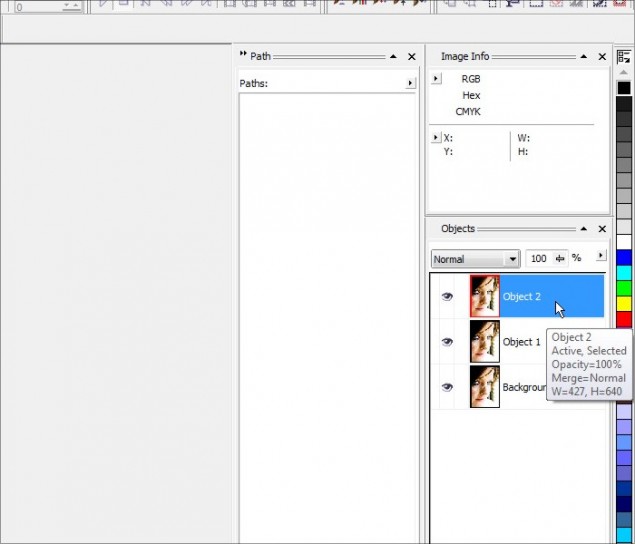
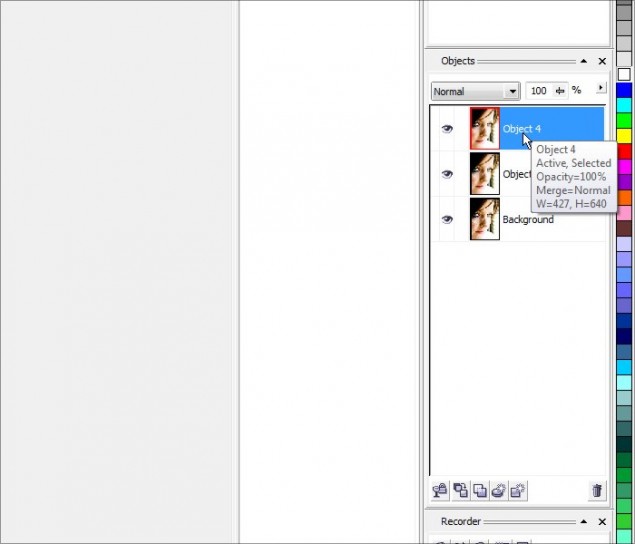
Step 1 – Let’s start off by opening up our source image in Corel Photopaint and making 2 duplicate objects of the photo. So in all, you should have the background layer, which is the photo, and two additional copies of the photo as extra objects:
We’re going to actually only touch the 2 object layers, but I like to make 1 extra copy just in case I need the original photo for something. So in this case we’ll be working on the two object copies, and we’ll leave the background copy alone for the time being. Before you continue, be sure you select the top object layer as that’s our first level of attack in this tutorial.
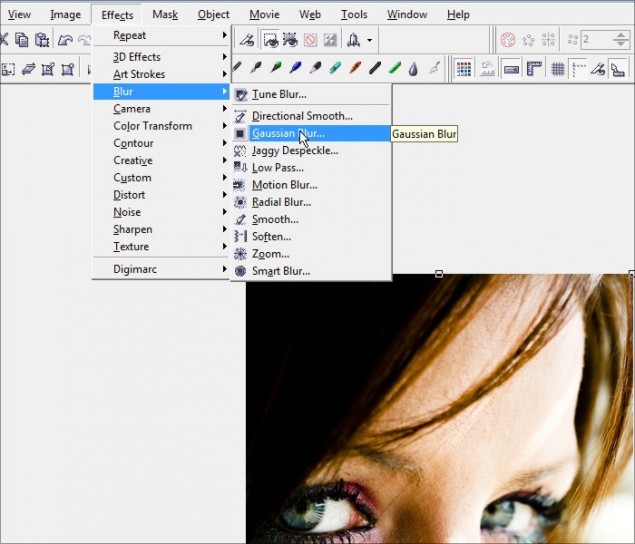
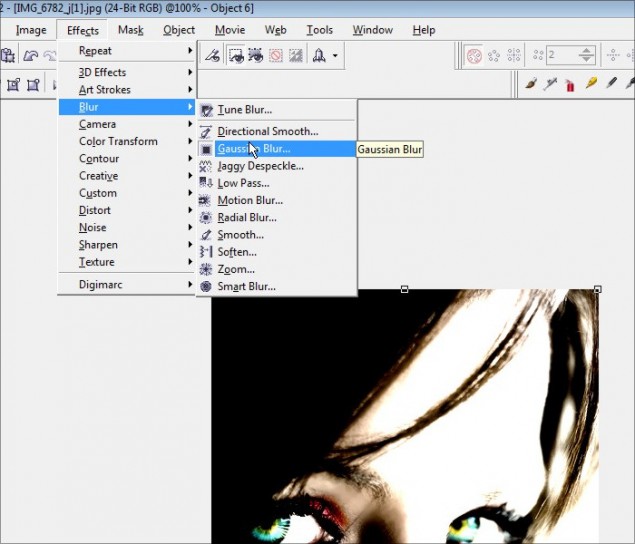
Step 2 – The first step in creating our smooth skin is to create a primary layer of smooth skin, and we do this by applying a fairly significant Gaussian blur to the photo. Go ahead and click on Effects > Blur > Gaussian Blur:
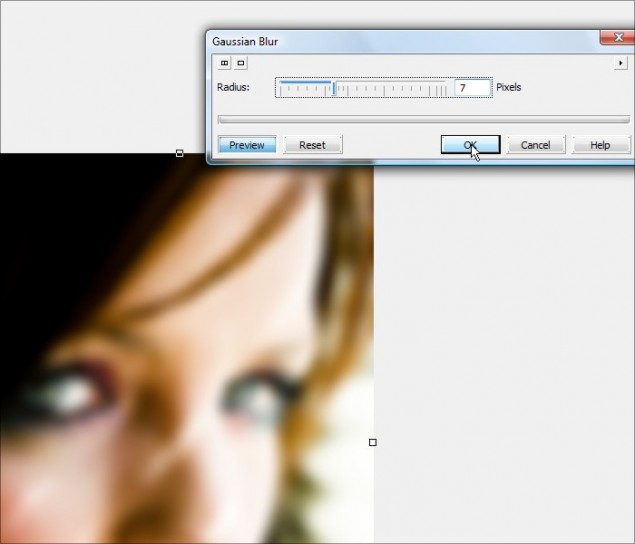
Slowly increase the pixel radius control button until you get a level that obliterates all the rough bumps and skin textures. Don’t worry about stuff like the eyes and hair getting too blurry, it won’t matter as you’ll find out in later steps. For this particular photo, the level of smoothness I wanted kicked in at a pixel radius of 7. Click OK and your blue is applied.
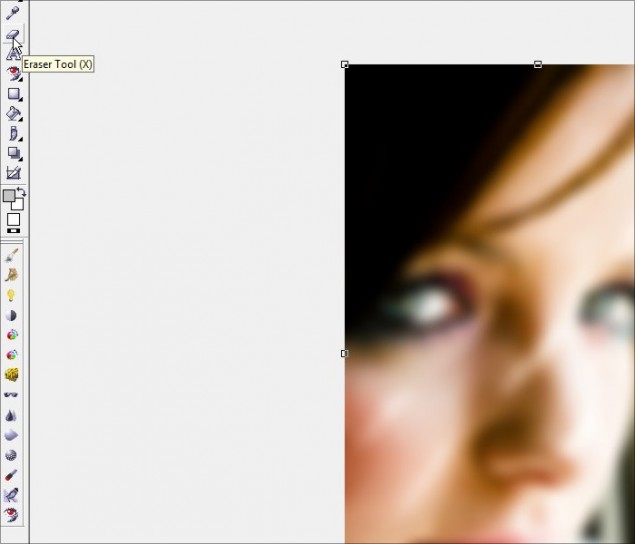
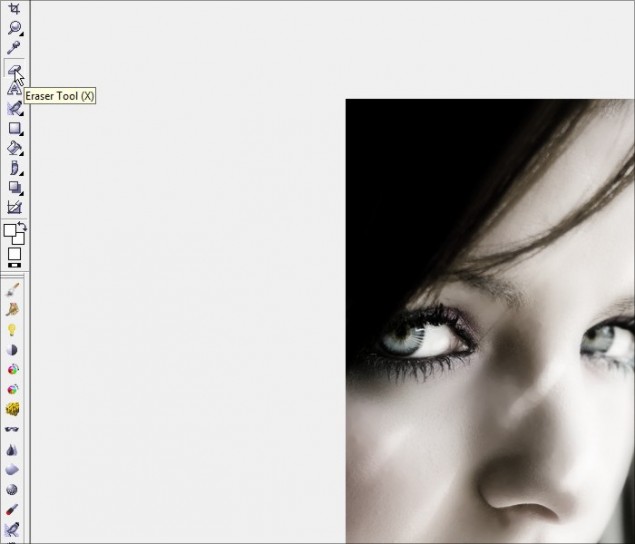
Step 3 – We now have a basic smooth skin layer, but we’ve lost a lot of detail in areas we didn’t want to smooth out. So let’s fix this up by selecting the eraser tool:
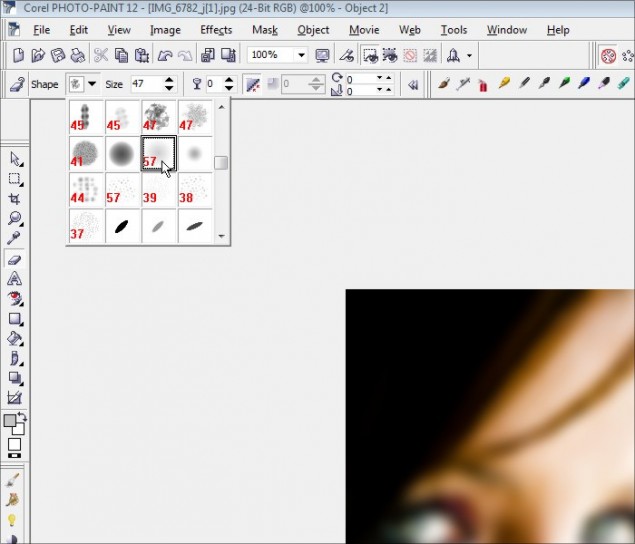
Grab a nib that is fairly large, but don’t go too huge or else you’ll lose control on the parts you’re erasing and you’ll go too wide. I’ll go with a 57 pixel nib with a very soft circular gradient effect:
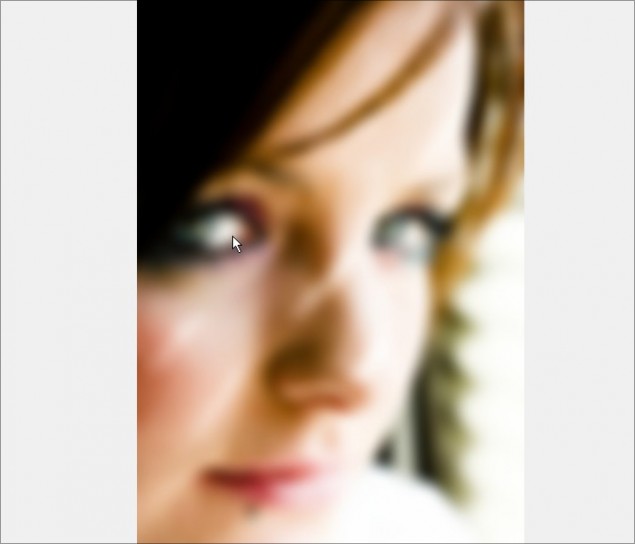
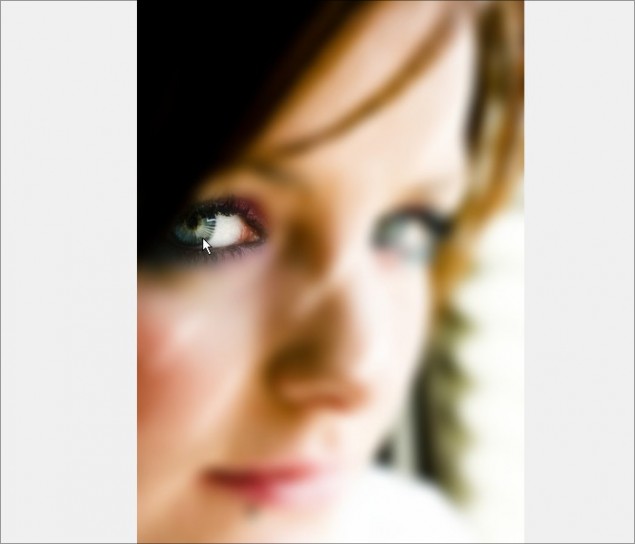
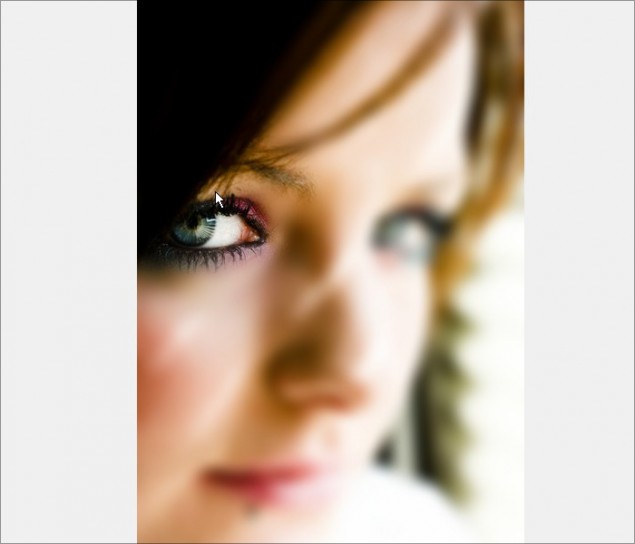
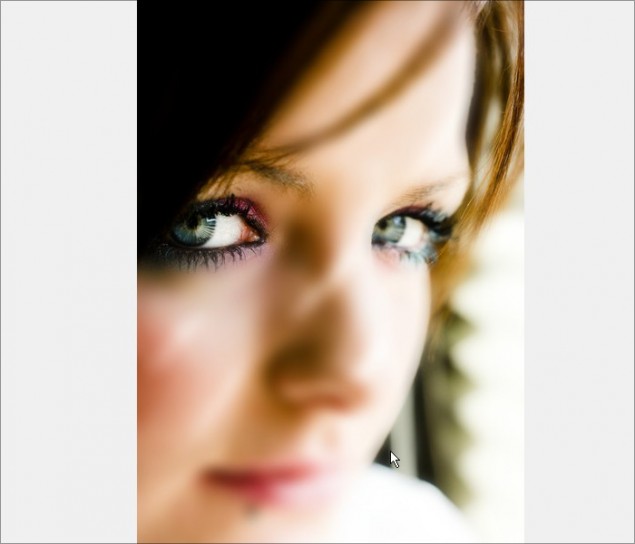
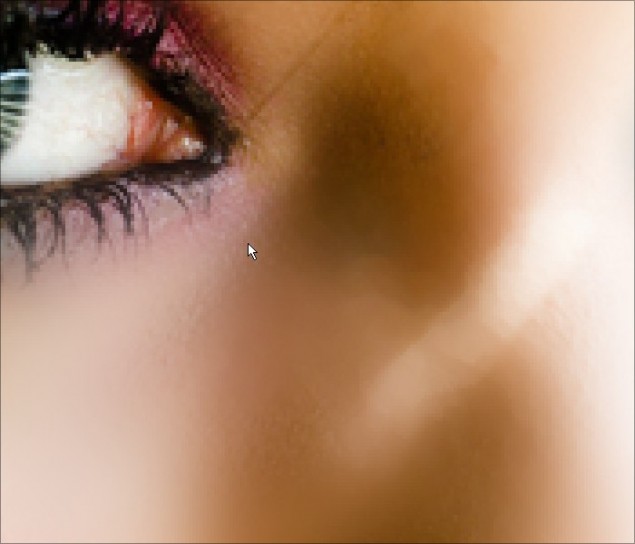
Now start with the eyes… slowly click and move the mouse around the eye, being sure to erase the entire eyeball, eye lashes and other details around the eye socket:
Don’t forget the eyebrows and hair line:
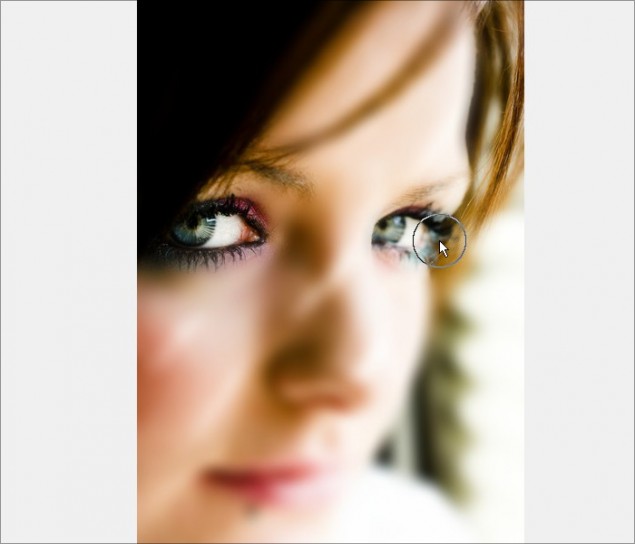
Now we work the other side:
Along the cheek:
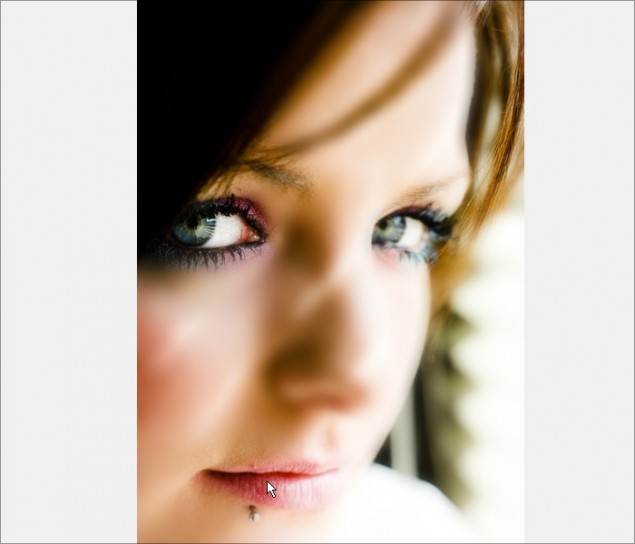
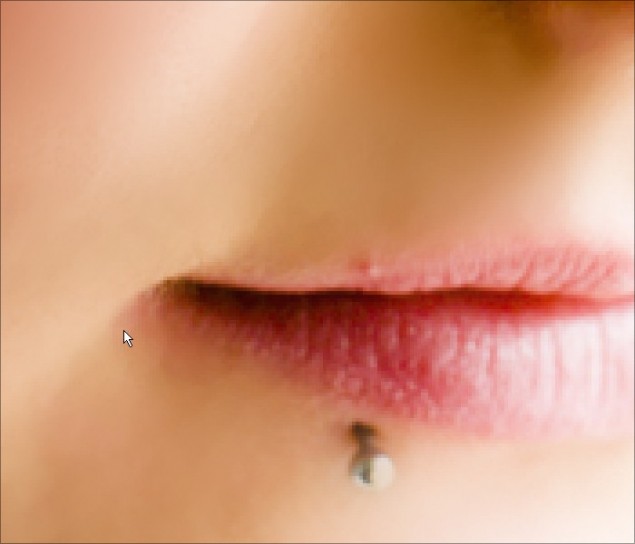
The lips:
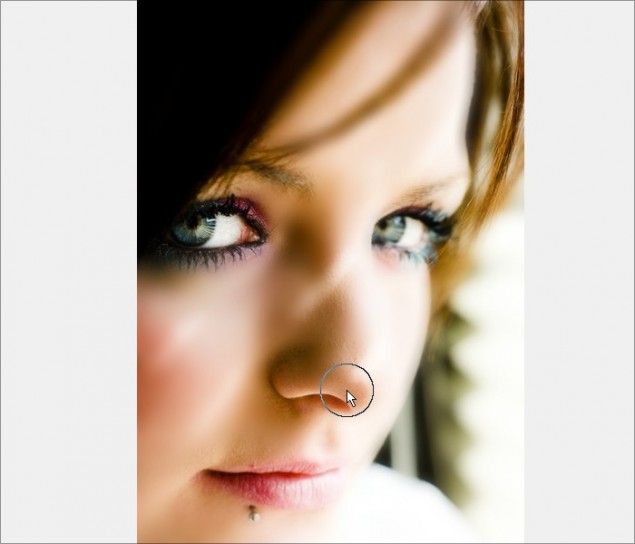
Nostrils and tip of the nose:
Work in the details of the nose ridges:
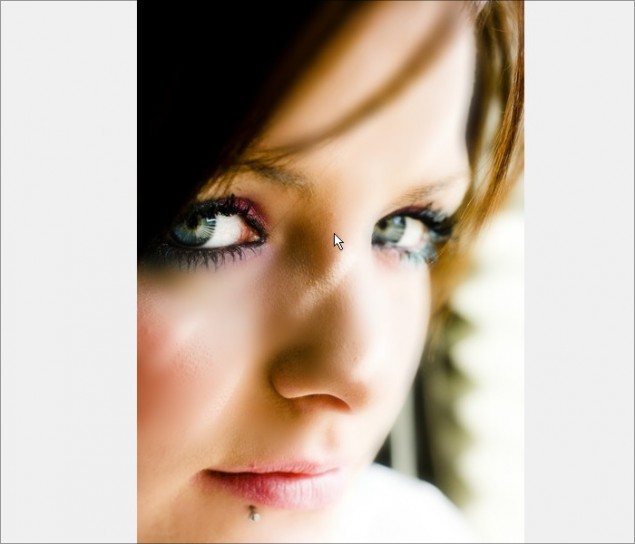
And finish off by erasing along all remaining hairlines:
With that done, we’re now brought back the detailed areas we want to keep, BUT we’ve revealed some areas of skin that need smoothing again. Click on Page 2 and we’ll fix up these detailed areas and finalize the skin smoothing portion of this tutorial.
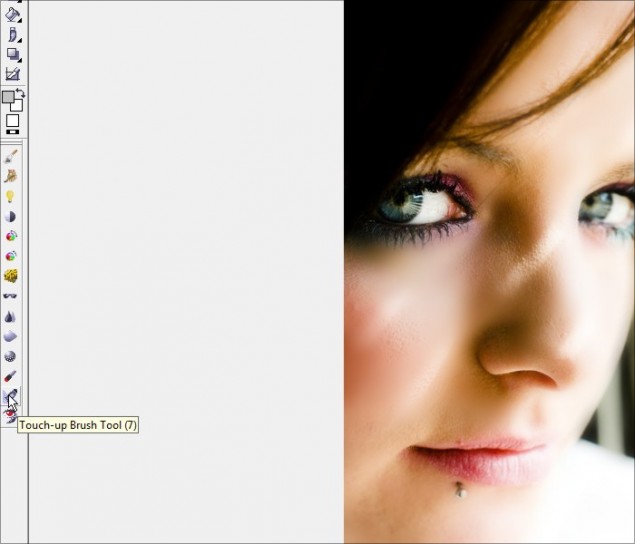
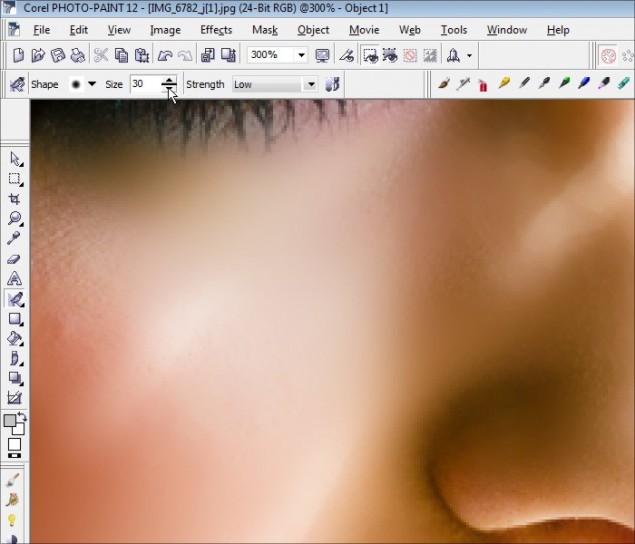
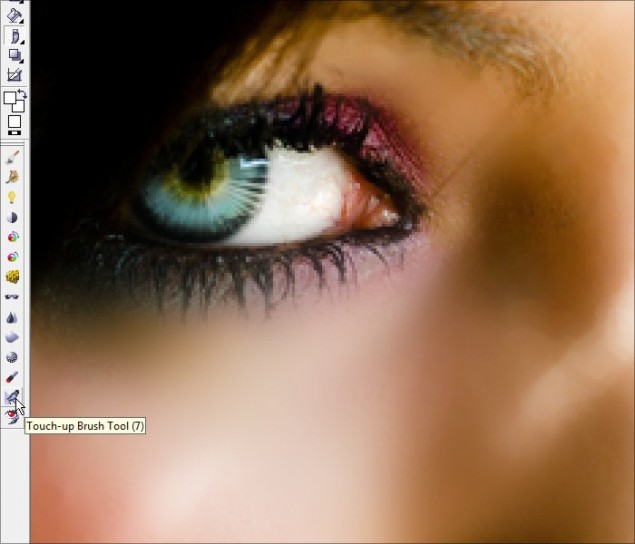
Step 4 – For this step, we’re going to detail the skin smoothing with the Touch-Up Brush, which is a no-brainer tool to quickly fix up blemishes, uneven surfaces and much more. It’s extremely handy for photo editing and you’ll definitely want to have this tool as part of your know-how arsenal! So let’s start by selecting the Touch-Up Brush and selecting the brush’s application settings.
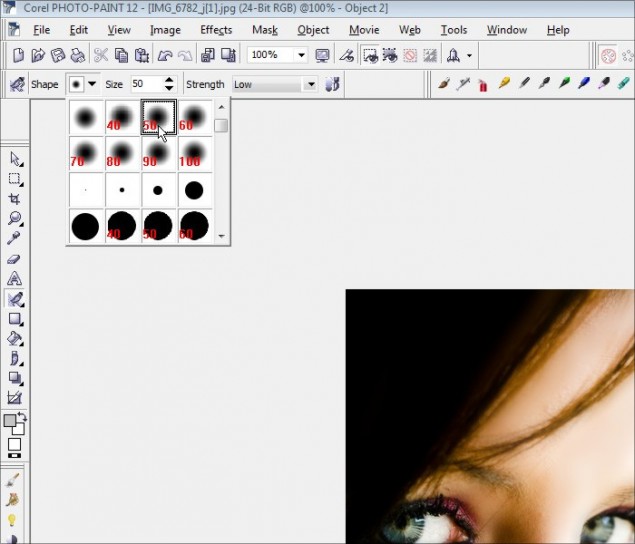
I’m going to select a size 50 nib for decent coverage… this is a good sized photo so a tiny brush nib isn’t required.
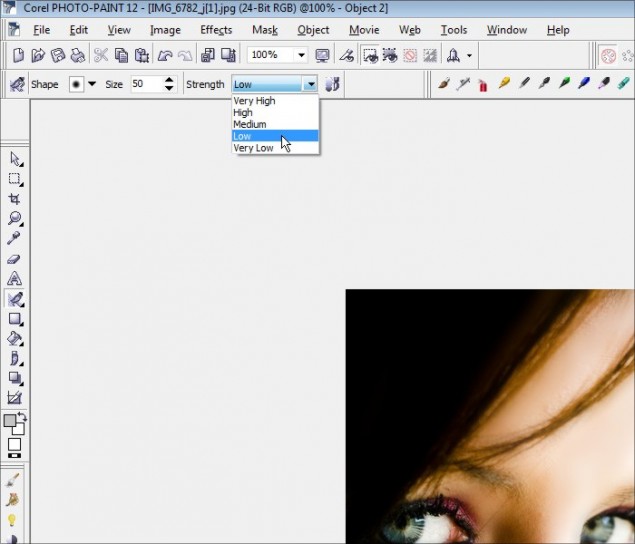
And finally, select the desired brush strength… the higher you set the strength, the more intense the smoothing action will be. We don’t want to go too nuts, so I’ll keep the strength low:
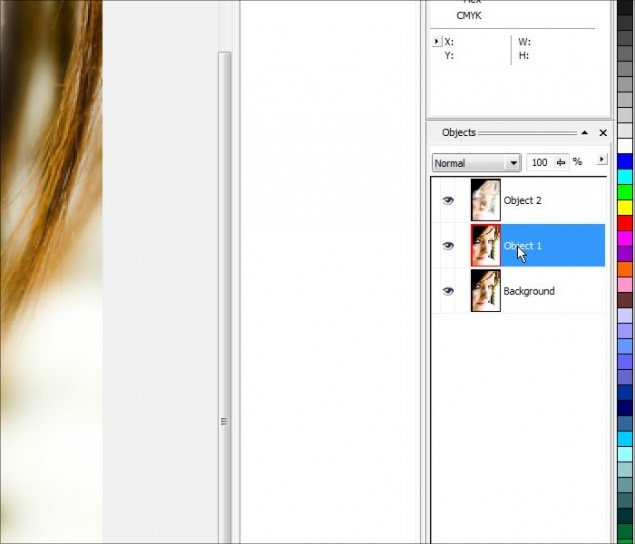
WARNING: Before you start to brush, make sure you pick the middle layer!
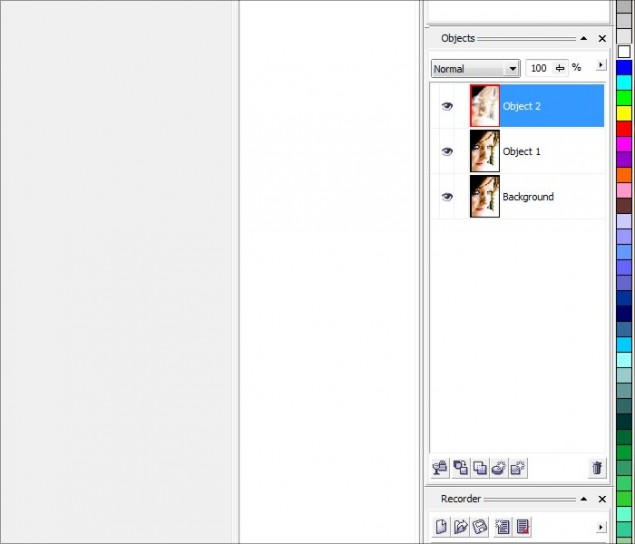
Be sure you select the layer UNDER the main smooth skin object or else you’ll just be trying to smooth that blurred out object layer. So click on the second object in your object docker before continuing:
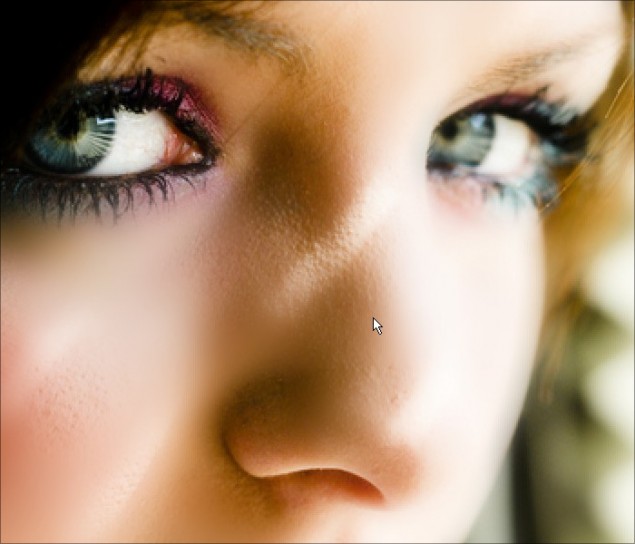
Step 5 – OK, let’s zoom right in and start with the nose area. Start by slowly brushing any bumpy textures you see along the nose… be sure not to run the brush over the areas that separate light and dark, or it will blur the lines you want to keep crisp.
Here we see the results of brushing the nose with the Touch-Up Brush:
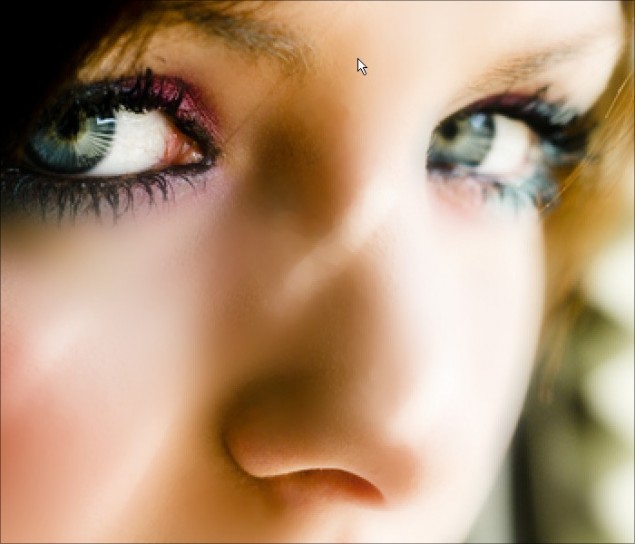
Now do along the eyes and lips… If necessary, you can reduce the size of your nib to get into tighter spots:
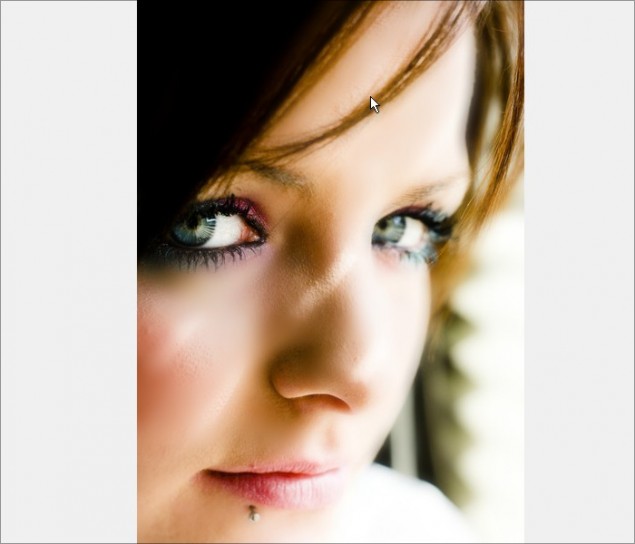
And you’re done! Here’s what I ended up with:
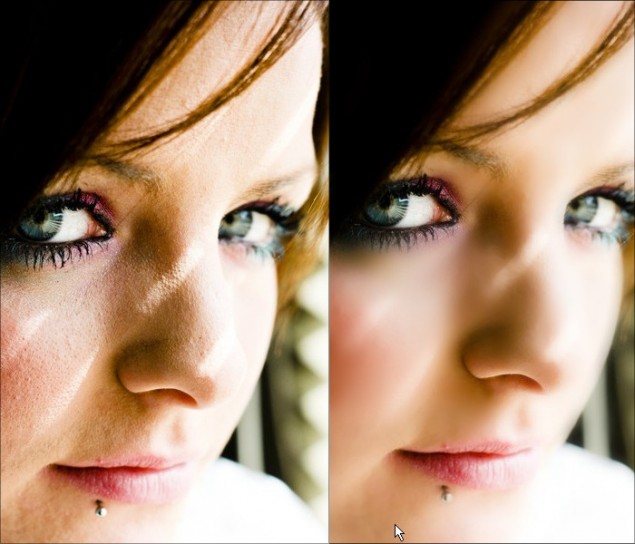
Now, before we continue on to the next part, let’s see a before and after image of our skin smoothing:
As you can see, we’ve completely transformed this photo into a beautiful smooth complexion that’s ready for any magazine cover! This now ends the skin smoothing portion of the tutorial. Please continue to Part 2 – Eye Enhancement and Airbrushing.
Part 2 – Eye Enhancement and Airbrushing
As someone who uses a real airbrush for model painting, I can honestly say that you should approach digital airbrushing in the same manner. You want to keep your paint thin and slowly build up color, rather than paint thick and opaque. Unfortunately, many beginners make the mistake of rushing the airbrushing technique and piling on color too quickly and basically get frustrated and not use this handy tool. If you take your time, you can learn how to master the airbrush very quickly and use it for professional touch-ups and beautiful artwork pieces. In this part of the tutorial we won’t go too far into airbrushing, but we’ll look at how to use it to enhance eye color for gorgeous portraits and hopefully that will nudge you into expanding your airbrush use for all out drawing and photo enhancing.
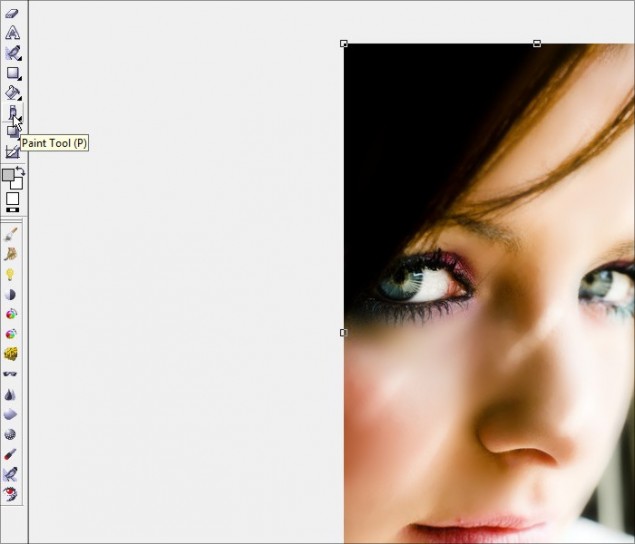
Step 1 – Go ahead and select the Paint Tool and then set up your airbrush settings:
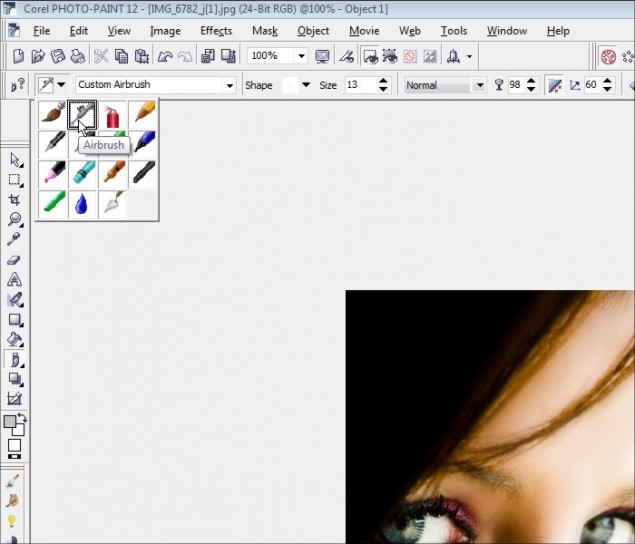
In the Paint Tool properties bar, select the Airbrush brush style nib and set it to 10 – 15 pixels wide:
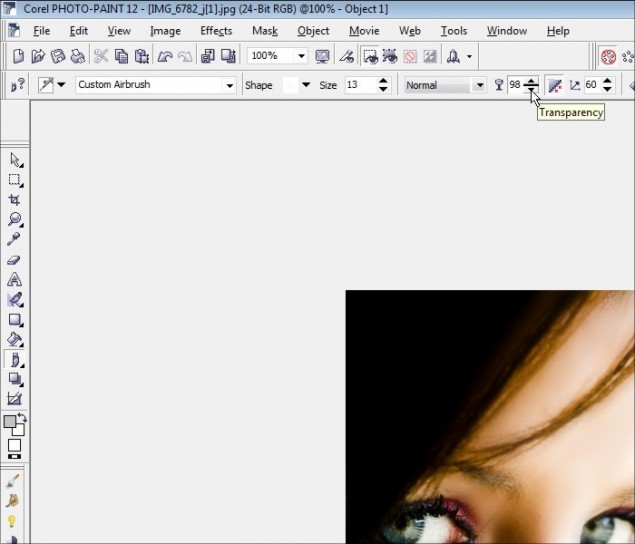
And here is the key… set the transparency to a very high 95% – 99%. This means that your brush strokes will be BARELY visible and it will take multiple strokes before the color you are airbrushing is actually visible. For this tutorial, I’m going to work with a 98% transparency. Remember, the trick is to build up the color very slowly and highlight the color that’s already there… we’re not changing the eye color, we’re enhancing it and making the color pop out.
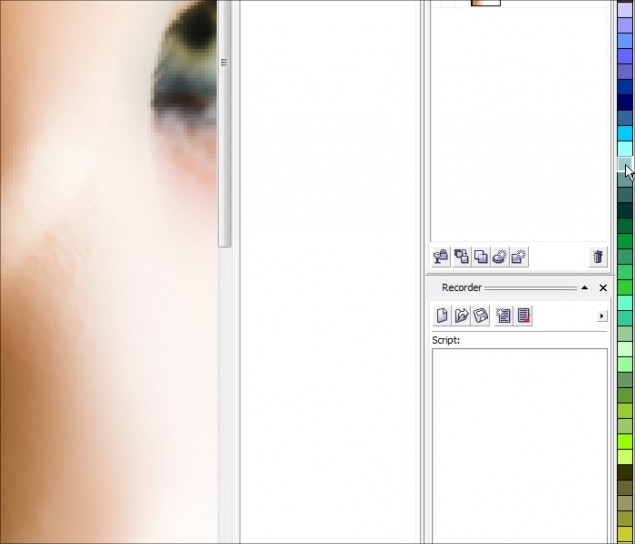
Now select a light color to match the eye… For this photo I could go with a green or blue, so I chose a mid-level cyan hue:
You’re now ready to airbrush the enhancement color!
Step 2 – Now, start to apply the airbrush in complete sweeps around all the blue areas of the iris. As you continue to sweep the cursor back and forth, you’ll start to see the color build up and slowly brighten up the eye. Don’t goo too nuts, keep it realistic! Once I had the blue/green popping out the way I wanted, I switched to a yellow color and worked the yellowish interior of the iris to enhance that color as well:
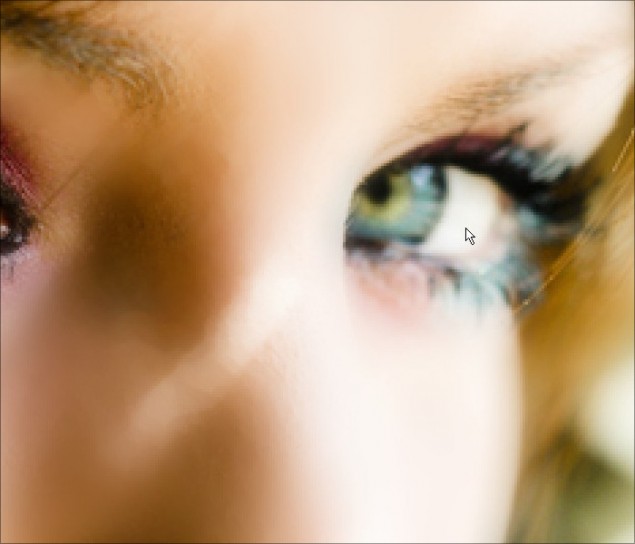
Then take some white and light airbrush the white of the eyes to brighten it up just a touch. Don’t go too crazy and completely whiten the eye or it will look unnatural.
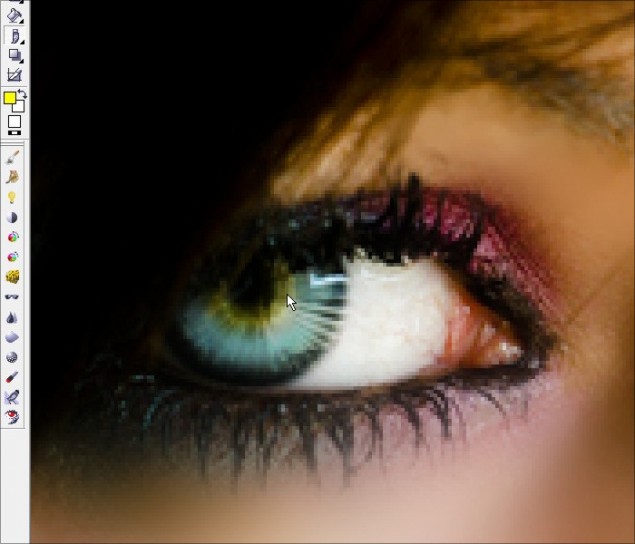
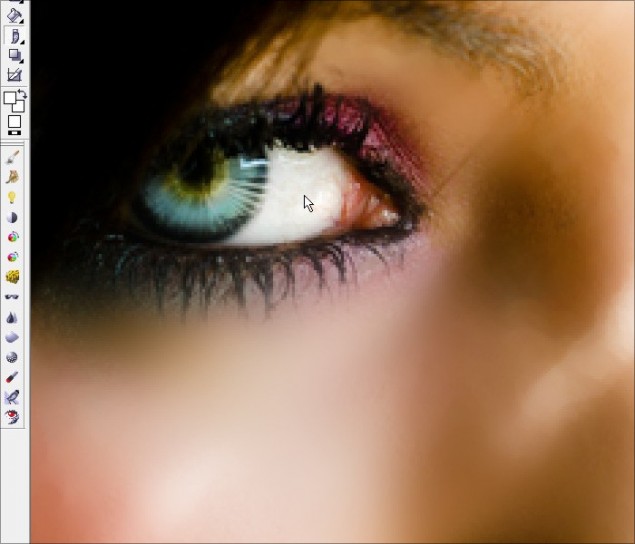
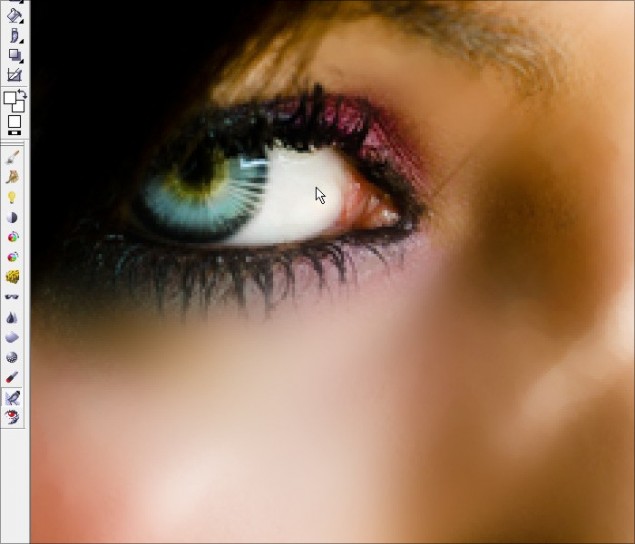
Step 3 – Next we’ll want to clear up some of the red veins within the white area of the eyes, so grab the touch up brush again and clean up the white:
Don’t forget the other side!
Step 4 – That’s about it! Now step back and set your zoom to 100% and check out your handy-work… everything look good? Zoom back in and touch up any remaining spots you may have missed and your eye enhancement is complete!
Now before we move on to the next step, I want to point out a small tip that some folks may feel is a worthy step… Some people may feel that the skin is a touch too unnaturally smooth, so before we merge all our layer objects together, we can add just a slight touch of skin texture for a subtle realistic touch. It’s a simple trick, and you can play around with it and completely vary the amount of texture you add to the skin.
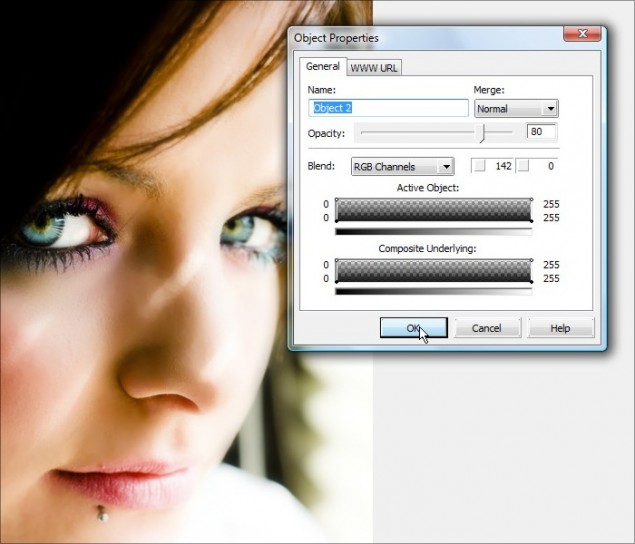
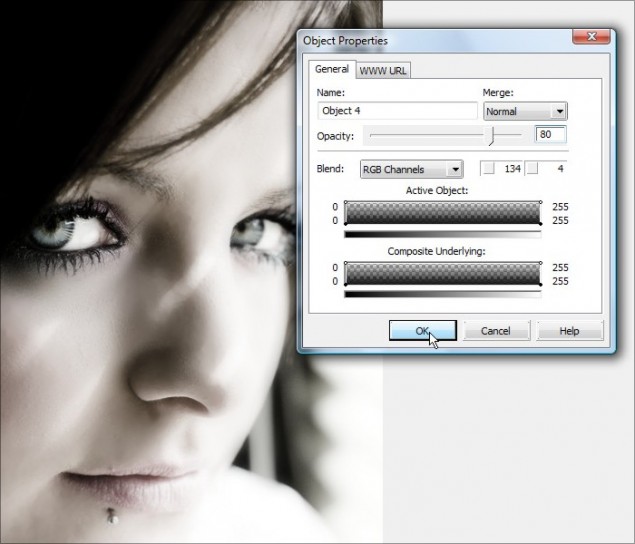
Simply right click on the top object layer and go the object properties:
Now move the Opacity slider down and you’ll see the textures pop out as you reduce the opacity. I’d recommend staying at 80%, but you can play around and see what looks best for you. Click OK when you have an opacity level you want to stick with or just click cancel to stick with 100%.
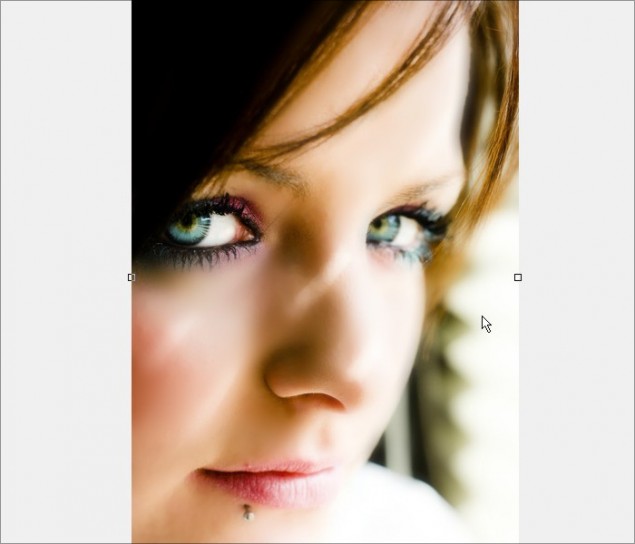
Step 5 – Now combine the 2 object layers together and VOILA! You’ve got airbrushed enhanced eyes with gorgeous realistic colors:
Ready to keep going? Please continue to Part 3 – Desaturation and Color Isolation!
Part 3 – Desaturation and Color Isolation
In this section, we’re going to learn how to create a desaturated toned effect with color isolation. I’m sure you’ve seen this effect before where the photo or image is black and white except for a 1 or two elements that are full color. It’s a very popular effect that looks quite dramatic when pulled off right. Let’s get started!
Step 1 – Start off my making a duplicate of the main object layer we’ve been working with. We’ll be applying our desaturation filter to this new copy.
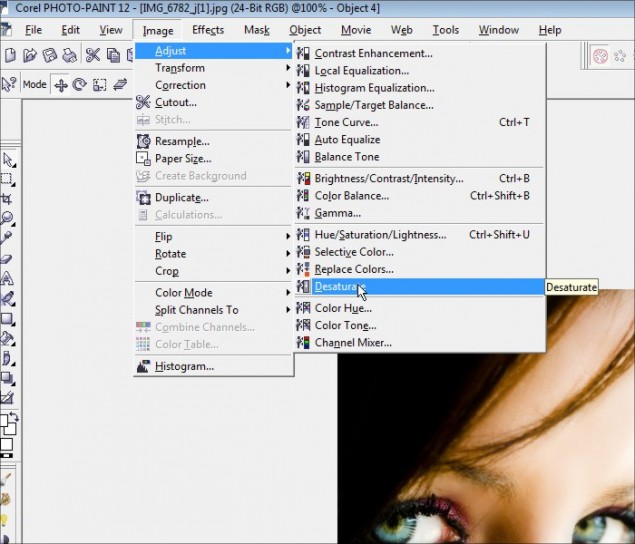
Step 2 – Let’s desaturate the new copy… click on Image > Adjust > Desaturate and to apply the effect:
You now have a greyscale copy of our photo piece.
Step 3 – This isn’t really a necessary step, but I like adding just a hint of toned color to the overall desaturated layer. You can do this by opening up the object properties and lower the opacity to the 80% range. Play around with various opacity ranges and see what you like, or just leave it at 100% greyscale.
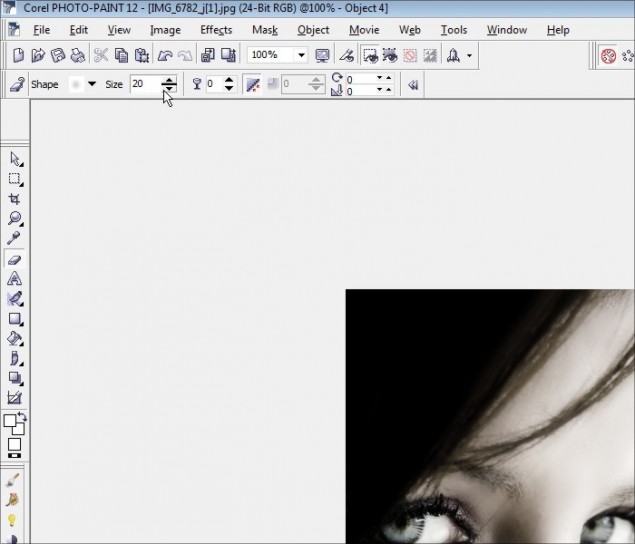
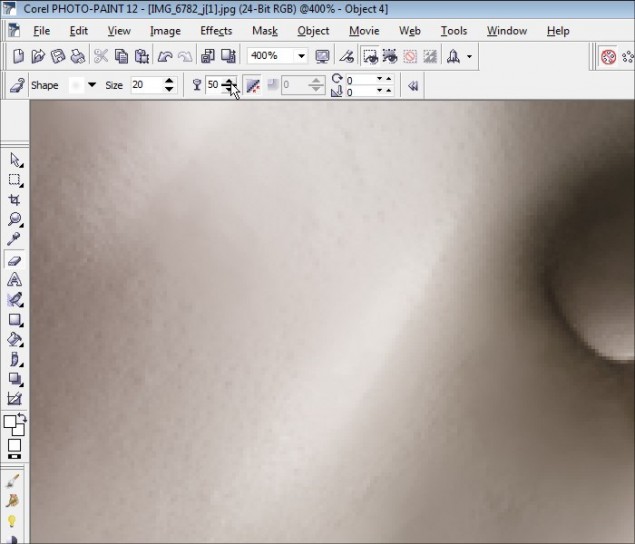
Step 4 – OK, time to let our colors shine through! Click on the eraser tool and adjust the size to around 20 pixels with a circular fading nib. You don’t HAVE to go with those settings, but it’s my preferred style for erasing.
Adjusting the eraser nib size:
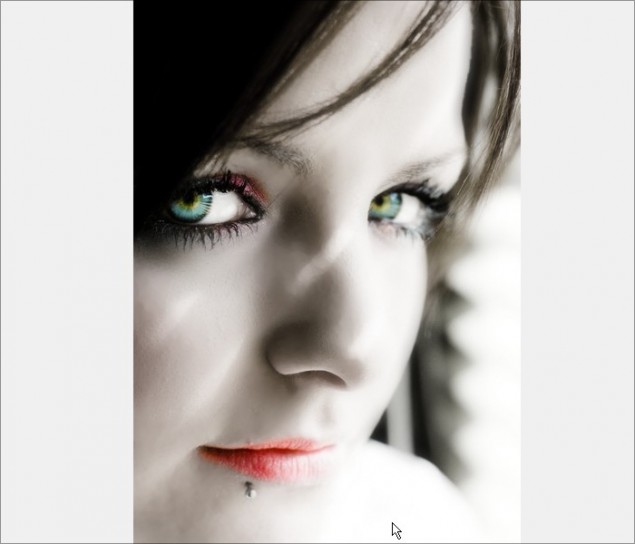
Now zoom right in and start erasing the areas where you want your color to come through! I’m going to work on the eyes, eye shadow, and lips…
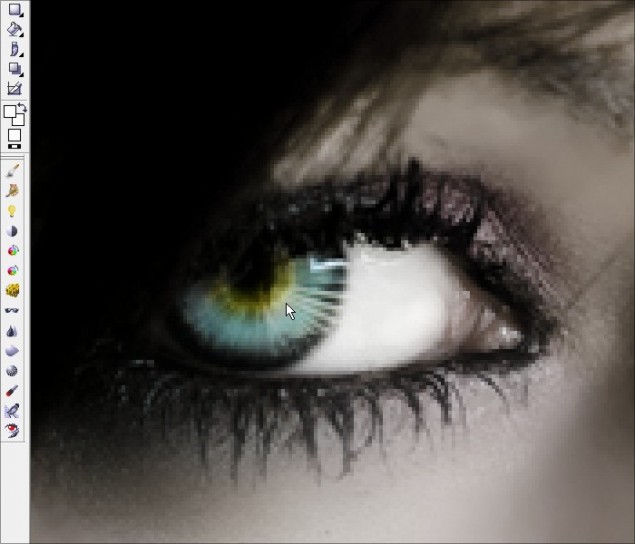
Iris of the eyes:
Here we see how it looks with one iris done:
Now I have both eyes done and the eye shadow areas:
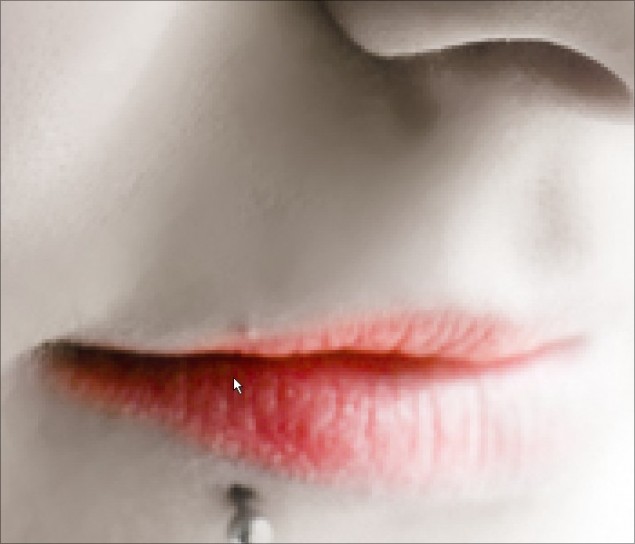
I like to do around the edges of the mouth with a semi-transparent brush… it helps blend the colored lips into the desaturated skin tones. So here I adjust the transparency to half:
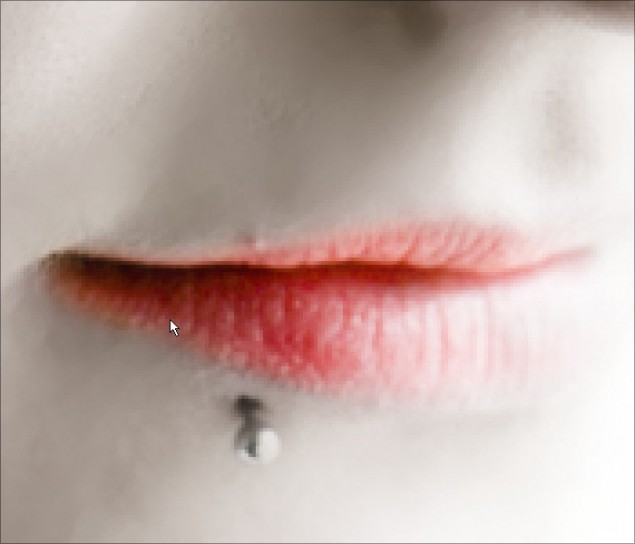
Then I brush the outer edges of the lips:
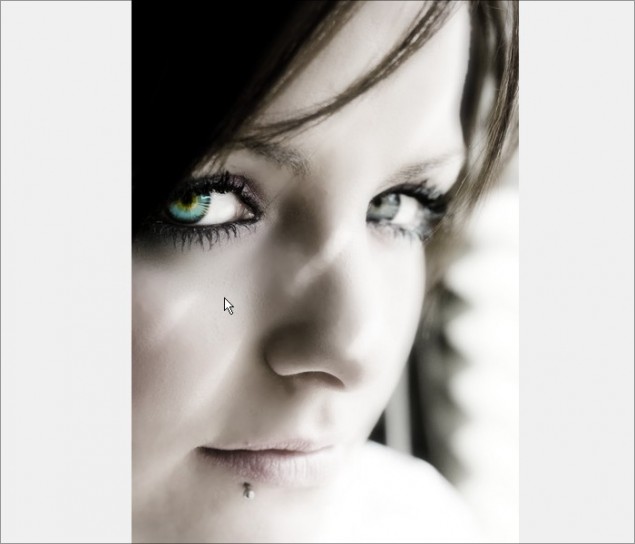
And we’re done! You’ve now desaturated the photo and isolated specific colored areas to give the photo an entirely new dramatic look!
You can now move on to the next page to see how I use a simple trick for an additional professional touch in Part 4 – Contrast Enhancement and Softening.
Part 4 – Contrast Enhancement and Softening
In this section, I’m going to show you a simple trick that I use on photos quite a bit… it’s super easy and it’s a great way to add a professional touch to your photos. This works on portraits, stills and all kinds of other photographic applications. In our case, it’s just going to make the enhanced elements of our piece stand out even more and add a soft glow to the photo. This type of trick is also know as the “Dreamy Photo” effect or “Angelic Photo” effect.
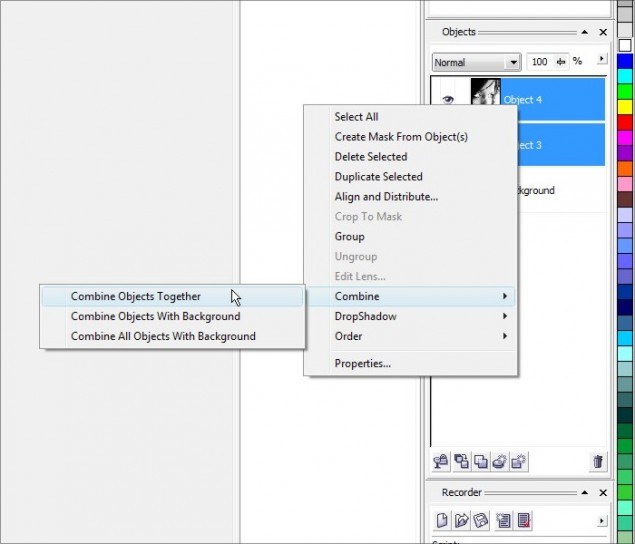
Step 1 – Before we get cooking on this portion of the tutorial, let’s combine our two main object layers together again:
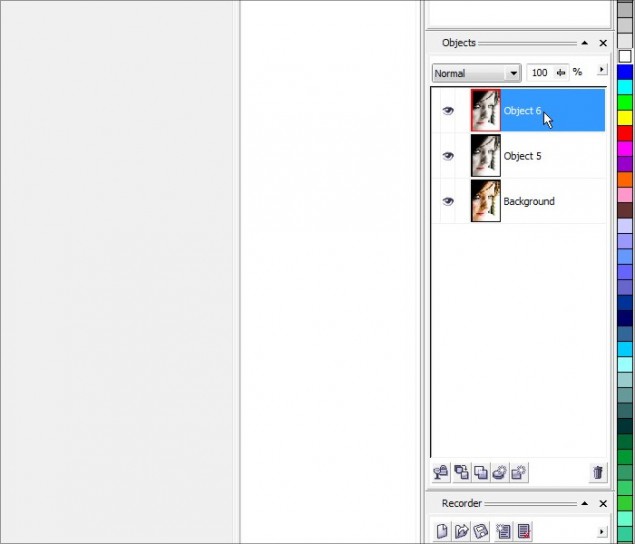
And once again, create a duplicate of our merged object layer and make sure you’ve got the top object layer selected:
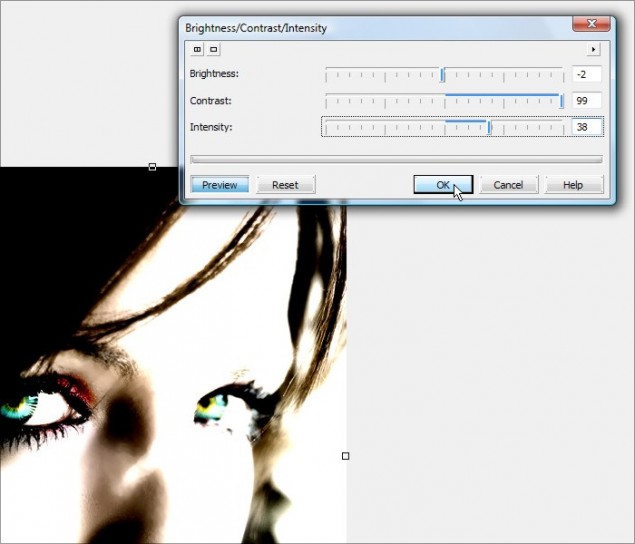
Step 2 – Pop open the Brightness/Contrast/Intensity adjustment tool (located under Image > Adjust >) and crack up the contrast all the way up and increase intensity about halfway. You can mess around with the contrast and intensity to see how the tool works and how it affects the image you’re working with. Once you’ve got a combo you like, hit OK.
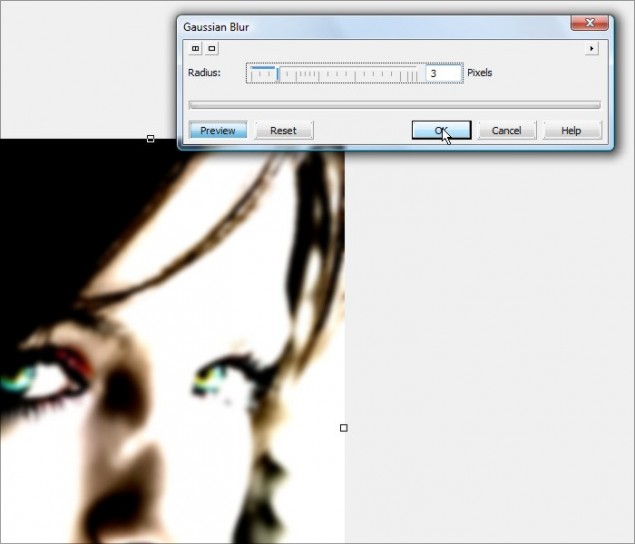
Step 3 – We now need to apply a small Gaussian Blur to the object… around a 3 pixel radius should do it, but feel free to play around. The larger the pixel radius, the more glow you give the photo… just bear in mind that if you go too high, the object will thin out too much and you’ll lose the effect. I wouldn’t recommend going past a 6 or so.
Going with a pixel radius of 3:
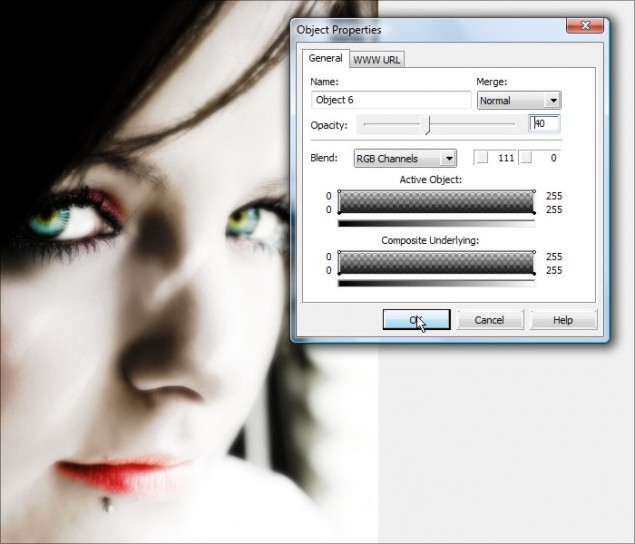
Step 4 – Now open up the object properties of our blurred layer and turn down the opacity to around 40%. We want to have a soft glow to the photo, not blur it right out!
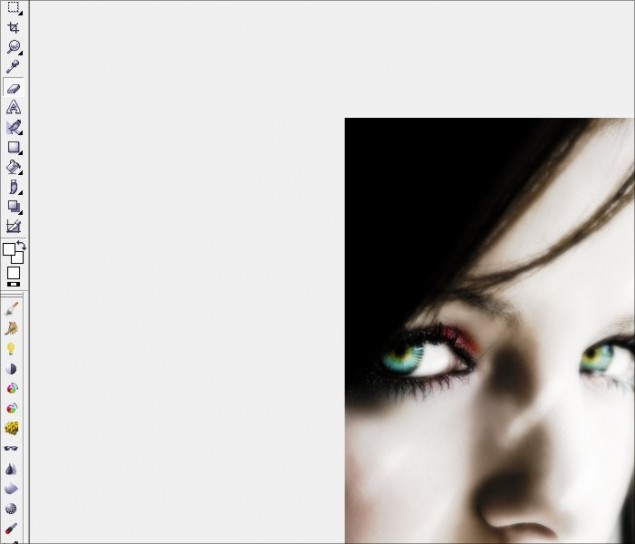
Step 5 – OK, now you need to grab the eraser tool and erase any are where you want the details to pop out and not be fuzzy:
We’ll work the eyes and eye brows:
Hair:
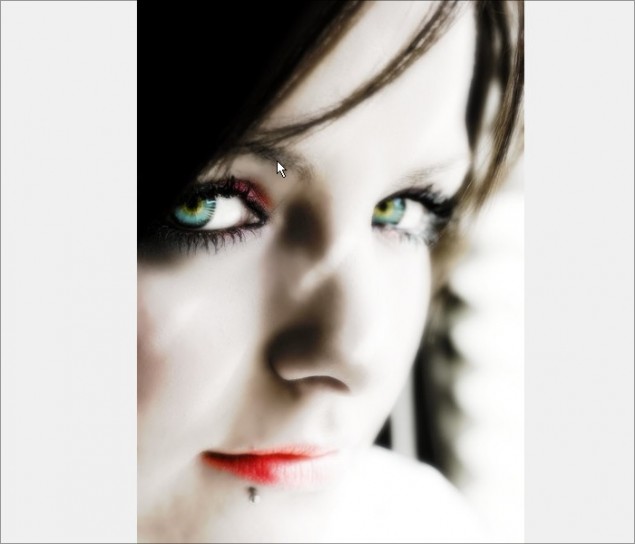
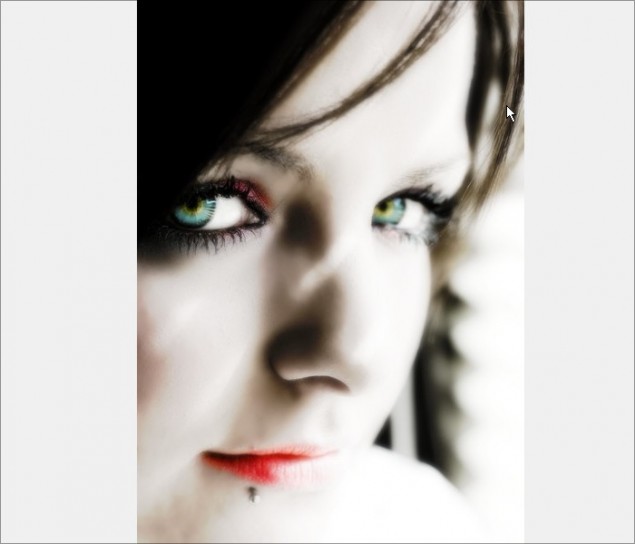
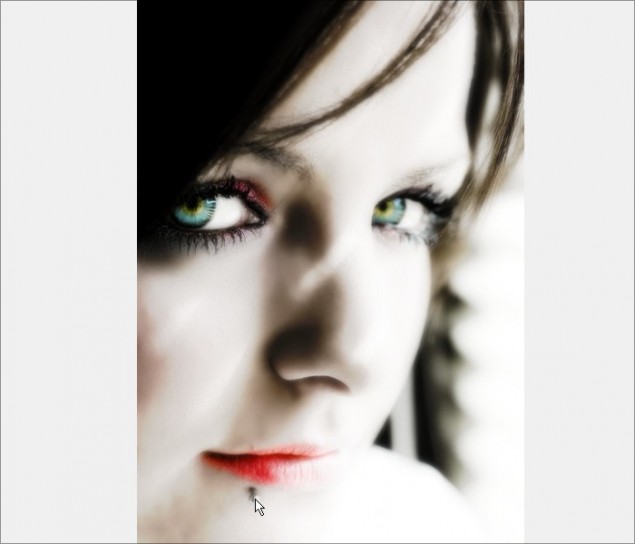
Her lips and the lip stud and you’re done!
Zoom back out and you can see your photo now has a dreamy soft glow to it with deeper overall contrasting shadows. You can actually click the visibility icon (the little eye) on the object docker of the top layer to see how it looks with and without the effect. If you’re happy, it’s time to move on to the final part of this tutorial!
Part 5 – Sketch Effect
To end off this Photo Editing 101 tutorial, I’m going to show you how to turn a photo into a sketch in just a couple of clicks and then we’ll blend that into our photo project for a nifty little effect.
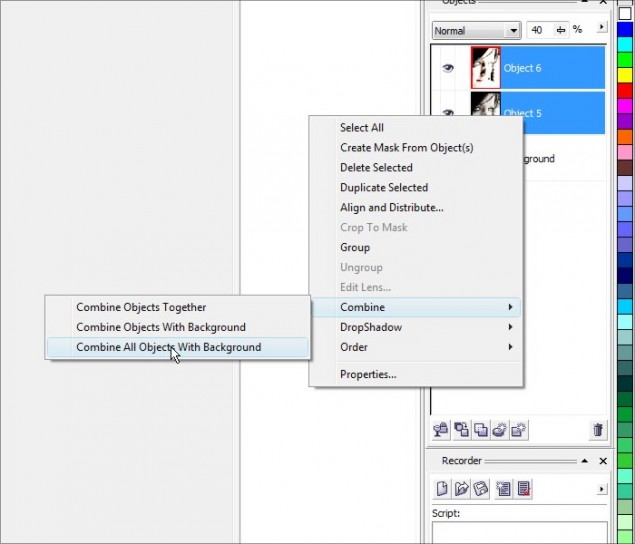
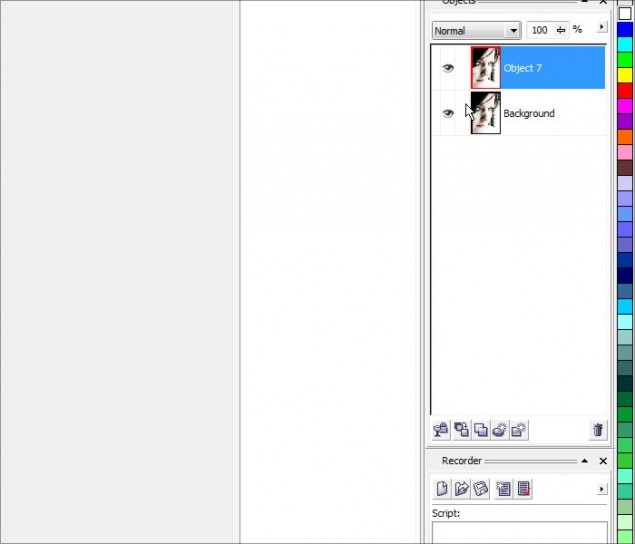
Step 1 – Now, instead of combining both object layers together, we’re actually going to blend both into the background this time:
And then create a single duplicate of the background layer:
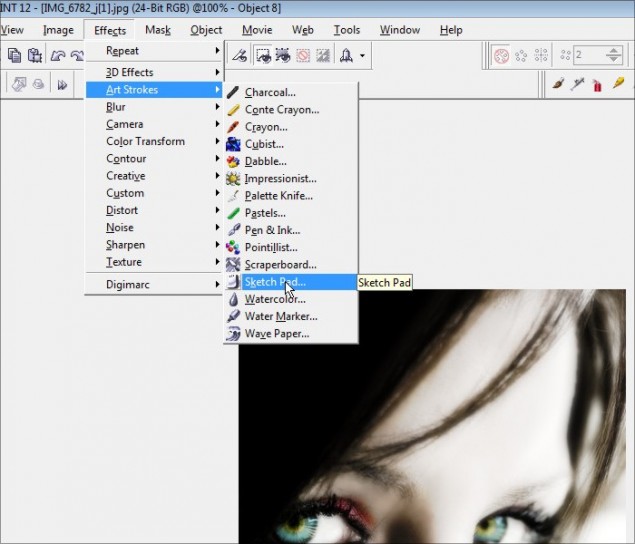
Step 2 – Alrighty then, time to turn this photo into a sketch! Click on Effects > Art Strokes > Sketch Pad:
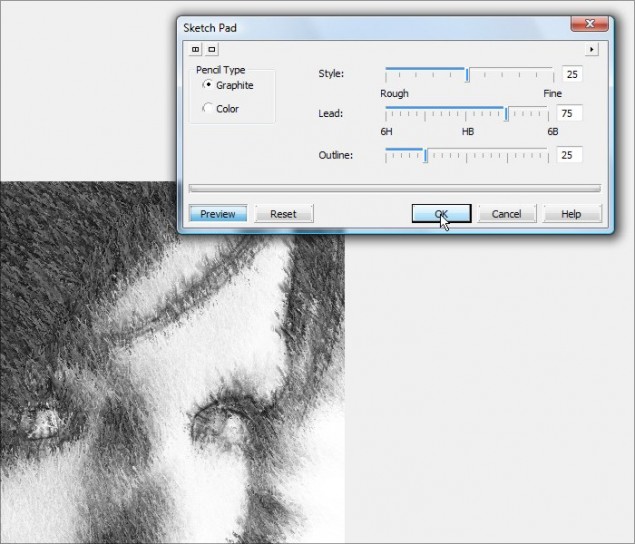
And easy as pie, your photo is now a sketch… play around with the various sliders and see how they affect the look of your sketch. Once you hit a configuration you like, click OK to apply the effect to the object layer.
Your photo is now a pencil sketch! But, we didn’t do all that work just to end up with a simple pencil sketch did we?? Let’s blend this sketch into our colored photo and create a cool grungy effect.
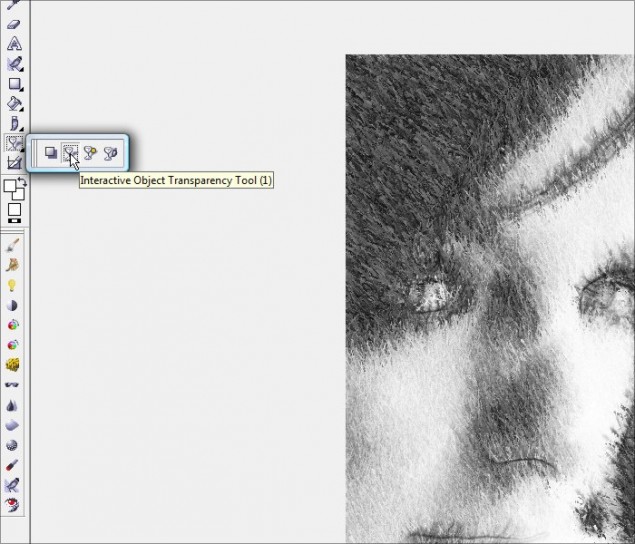
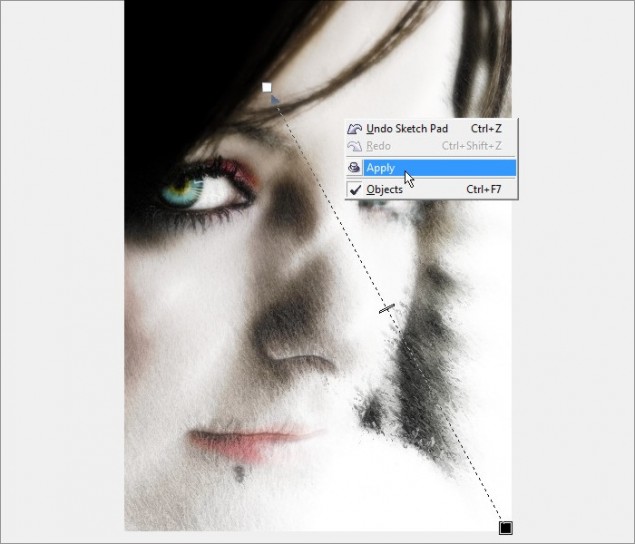
Step 3 – Grab the Interactive Object Transparency Tool (you didn’t think I could write a tutorial without using my favorite tool did you?!) and we’ll apply a transparency gradient across the entire layer.
Apply your transparency:
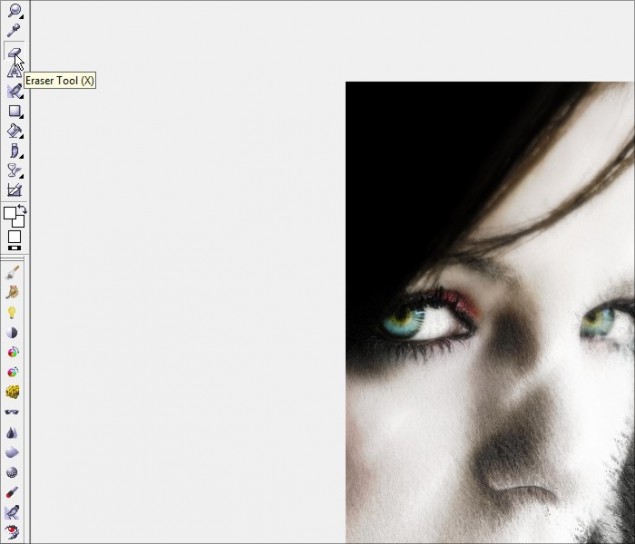
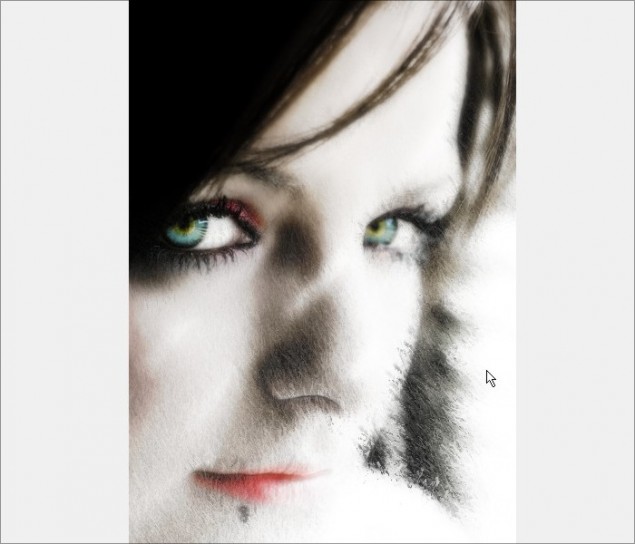
Step 4 – You can then grab your eraser tool and clean up the photo piece a bit… in this example, I cleaned up the white of the eyes and the thicker portion of the lips:
Guess what? We are done like bacon! From here you can continue to apply effects, brush in some grunge effects, add text or whatever else comes to mind!
Well that concludes another tutorial from little ol’ moi, so I hope you’ve enjoyed this introduction to fairly basic and useful photo editing tricks and I hop you look forward to my next tutorial! Until then, keep practising and thank you for reading. Please don’t forget to comment below!
Dan
2 thoughts on “Smoothing Skin, Enhancing Eye Color, Sketch Effect, Contrast and Color Isolation in Corel Photopaint!”
Wao! That was awesome, thanks for the training…
Good Work, helpful!