Create 3D Style Text with a Wireframe Effect in Corel Photopaint
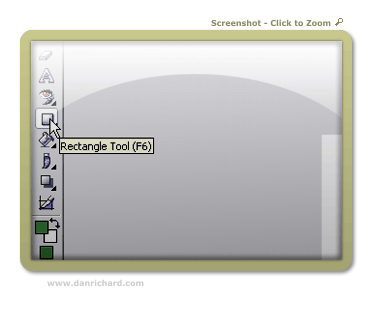
Step 13: To start off our wire-frame lines, we’ll need to set line points in all the corners of the text. As we duplicate and shift the objects over and over again, the dots will become lines! Let’s not get too far ahead of ourselves though… let’s start by selecting the rectangle tool. As a side note, make sure that your rectangle tool has outlines enabled. Fill can be enabled or disabled, it doesn’t matter for this.
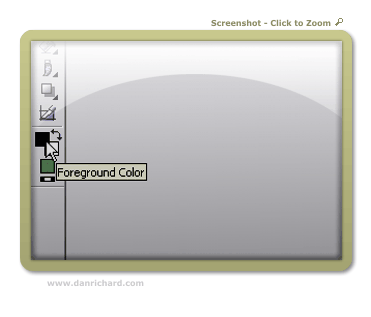
At this point, be sure to select black as your foreground color:
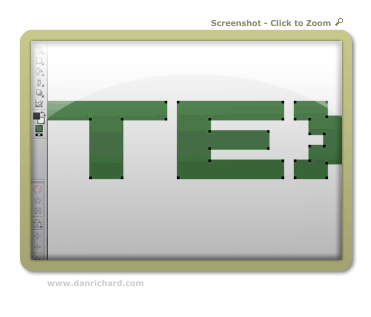
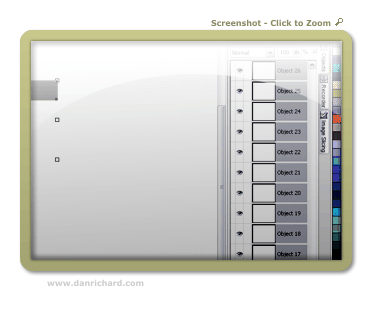
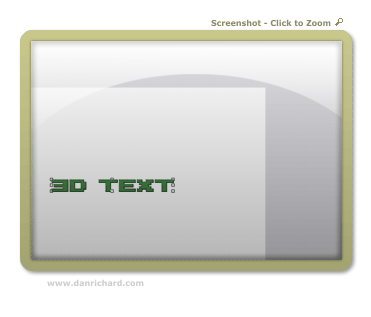
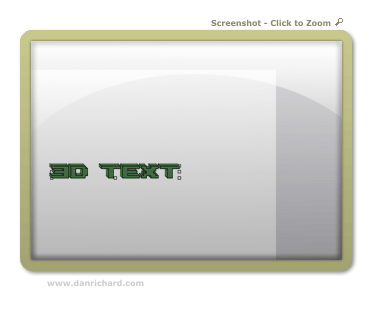
Step 14: Time to connect the dots! OK, well not connect them, just make them. Zoom in nice and close and draw little 1 pixel squares on the inside of every corner of the text. Be sure to check out the screenshot below of this step to understand where you should be placing your dots/squares, but feel free to experiment with different areas to see what happens.
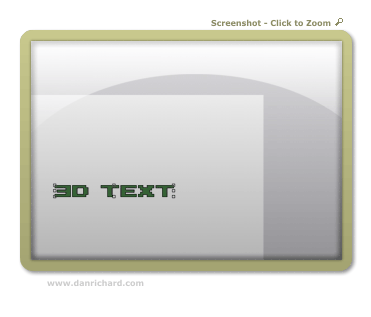
Here’s our text with all the dots in place and ready to go!
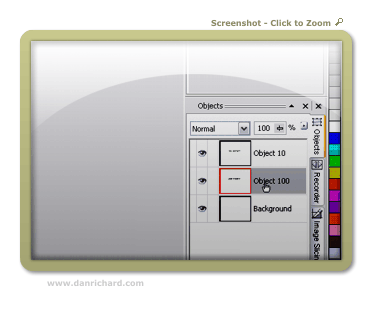
Step 15: Our object docker is looking just a tad stuffed with objects, so lets fix that up. You can now combine all the dots and the first text object into a single object.
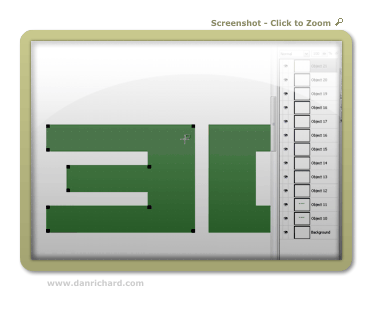
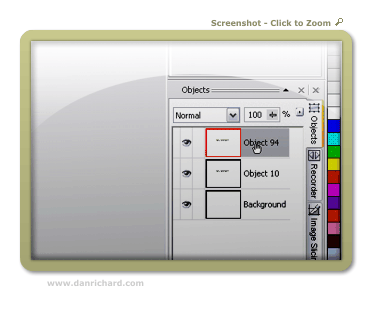
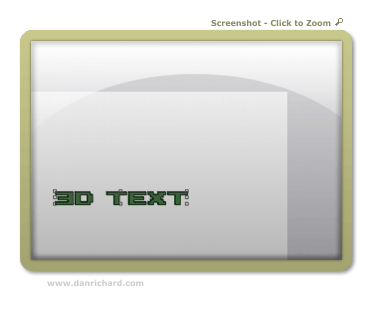
You should now have 2 text objects and the background listed in your docker:
Step 16: We can now start seeing our wire-frame come into shape! Move the text object with all the dots under the other text object with the border in your object docker.
Then, similar to how we created our black border, use the arrow keys to move the bottom text object 1 pixel up and 1 pixel to the left. Our wire-frame effect is starting to show itself!
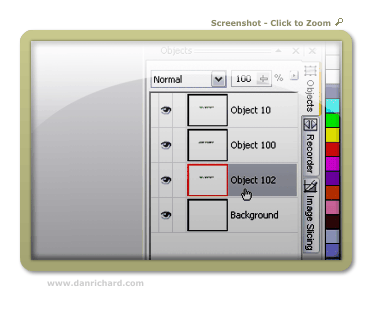
Step 17: Make sure you still have the bottom text object selected, then do a copy/paste to create a duplicate and drag that object within the object docker to the bottom of the object list. Then once again, use the arrow keys to move this object 1 pixel up and 1 pixel to the left.
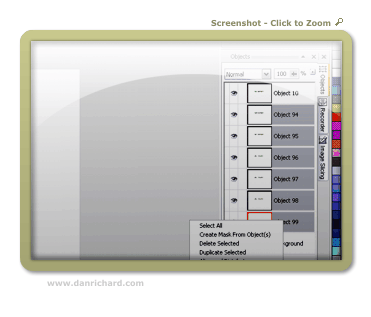
Duplicate the bottom text object:
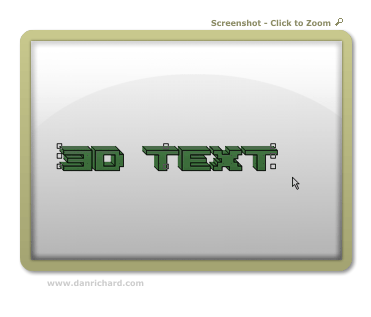
Move it to the bottom of the object list and move it 1 pixel up and 1 pixel to the left and you can REALLY see the wire-frame taking shape now:
Step 18: Repeat step 17 a few more times until your wire-frame and 3D effect is as deep as you want it.
Step 19: Object clean-up time again! Select all of the text objects that form the 3D part of the text… so this should mean every object except for the top one, which is the original text with the complete 1 pixel black border around it. Once you have all the correct objects selected, merge them into a single object.
Step 20: Now all we need to do is add a back border to the text, which is actually a very simple process. Just click on the first text object (The text with the black border) and create a duplicate of it using our copy/paste method and then moving it to the bottom of the object list.
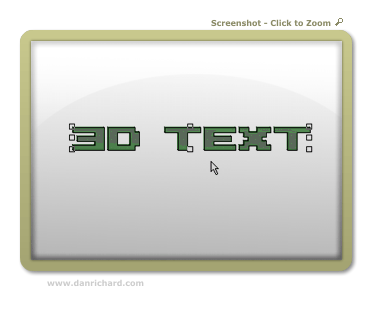
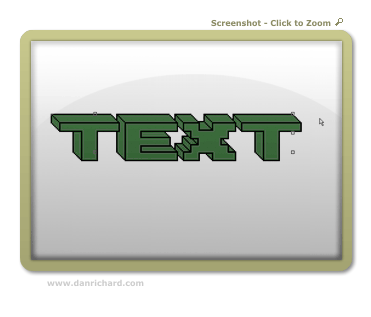
Step 21: Using your arrow keys, move the text object up and to the left until the black border appears at the top and to the left in the correct position. See the screenshot below to see what I mean:
At this point, your 3D text with a wire-frame is now done. You can stop here, or continue with the lesson and learn how to use gradients and transparencies to bring this rather static looking text to life!
Please continue to the next page.
6 thoughts on “Create 3D Style Text with a Wireframe Effect in Corel Photopaint”
Nice work Dan! Looks like a pretty well explained tutorial for Corel Users =)
Thanks bud 🙂 Nice thing about these Photopaint tutorials is that they are VERY easy to translate to Photoshop terms. Most of the options are the exact same thing.
Dan
hey! your tutorials rocks! I totally feel it! please work hard and hope for the best!
MORE POWER TO DANRICHARD.COM!!!!!!!!!!!!!!!!!!!!
=)
Awesome column , I’m going to spend more time learning about this topic
Many ways to do photo manipulation, now many online services that provide services for photo manipulation, but I prefer to use Photoshop to perform manipulation. Photoshop tutorials are very interesting to learn. With Photoshop we can create to generate a variety of photo look more attractive.