Create 3D Style Text with a Wireframe Effect in Corel Photopaint
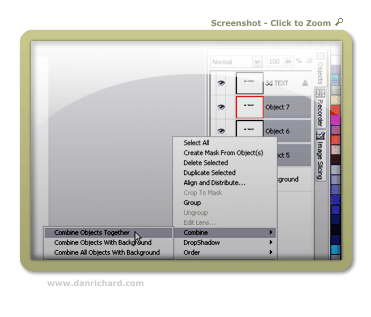
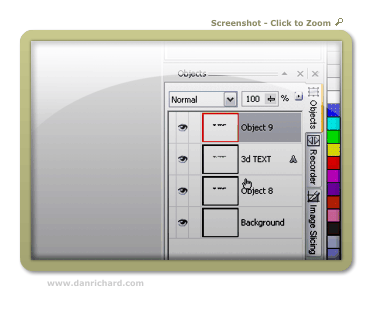
Step 9: To avoid any confusion while we work, you’ll want to keep as few objects on the workspace as possible, so lets take a second to merge all 3 black text objects into a single object.
Step 10: Let’s finish up the outline on the right side of the text now… simply do a copy/paste of the single black text object, drag that under the green object using the object docker and then use the right arrow key to move it over 2 pixels. Voila! The border is done!
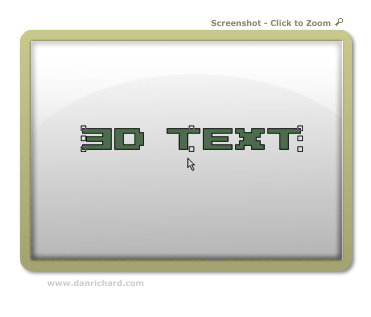
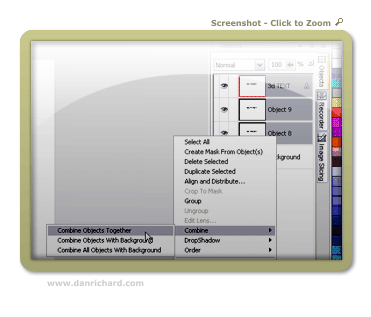
Step 11: Once again, let’s merge some objects together… in this case, merge all 3 text elements: The black outline objects and the green text itself.
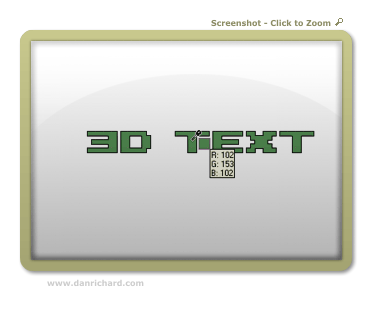
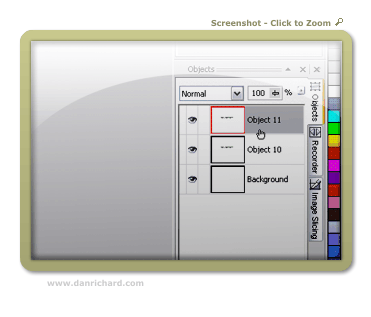
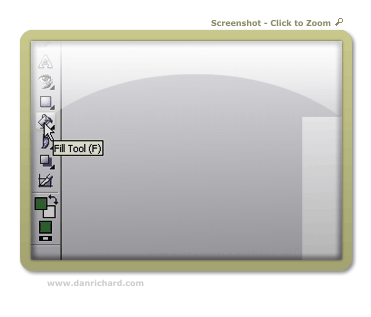
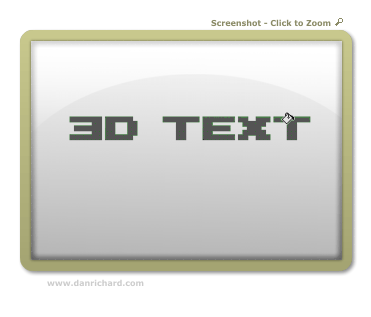
Step 12: Use the eye dropper tool and select the current main color of your text as the fill color if you don’t have it set to that already. Simply move the eye dropper over the color and right-click with your mouse. We’re going to create a dupe of your text layer and then bucket fill it with the main color.
Select the color of your text:
Create the duplicate object by doing a copy/paste of the text object:
Select the Bucket Fill Tool:
Click on the new object with the Fill Tool and fill it with your text color (the black border you created will disappear on this copy of the text object):
Please continue to the next page.
6 thoughts on “Create 3D Style Text with a Wireframe Effect in Corel Photopaint”
Nice work Dan! Looks like a pretty well explained tutorial for Corel Users =)
Thanks bud 🙂 Nice thing about these Photopaint tutorials is that they are VERY easy to translate to Photoshop terms. Most of the options are the exact same thing.
Dan
hey! your tutorials rocks! I totally feel it! please work hard and hope for the best!
MORE POWER TO DANRICHARD.COM!!!!!!!!!!!!!!!!!!!!
=)
Awesome column , I’m going to spend more time learning about this topic
Many ways to do photo manipulation, now many online services that provide services for photo manipulation, but I prefer to use Photoshop to perform manipulation. Photoshop tutorials are very interesting to learn. With Photoshop we can create to generate a variety of photo look more attractive.