Realistic Frozen Ice Text Effect in Corel Photopaint v12
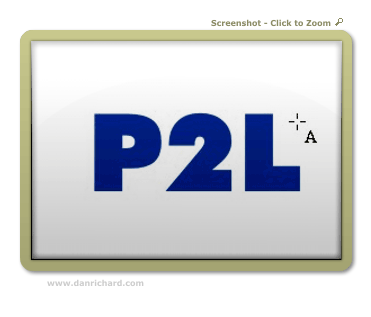
This tutorial was actually not intentional, but is merely some screenshots I took trying to figure out this effect. I had to make a logo for someone with “Icy” text and I hated the ones for Photopaint. They didn’t look like Ice at all… so I made my own. As I experimented with different effects I was mimicking from various Photoshop tutorials, I took screenshots as I went along so I could remember what I did. I finally found a combo of effects that resulted into some decent looking ice, so here’s a tutorial based on my “screenshot notes”.
Here’s the final result we’re aiming for:

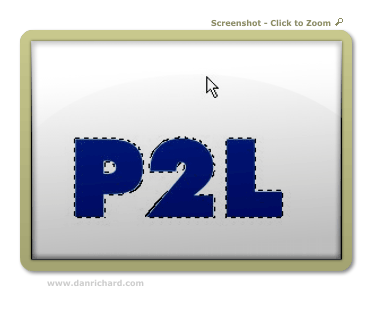
Step 2: Create a mask around the object by hitting ctrl-m
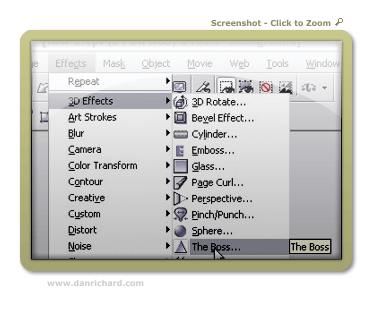
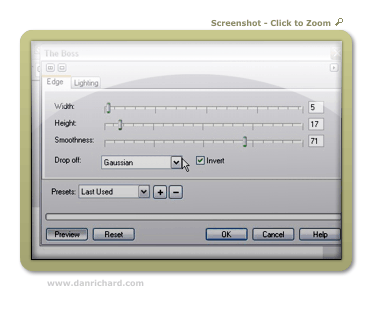
Step 3: We’ll start by running a built in 3D Effect called “The Boss”. Here is where it’s located and the settings I used:
The Boss – Edge Settings:
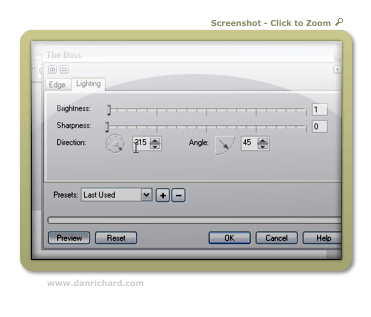
The Boss – Lighting Settings:
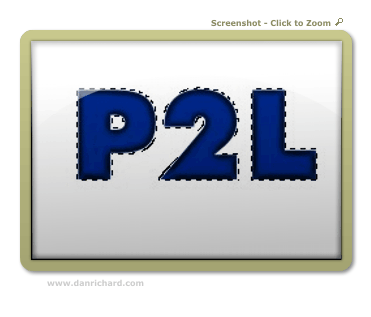
Here’s the final result of that effect:
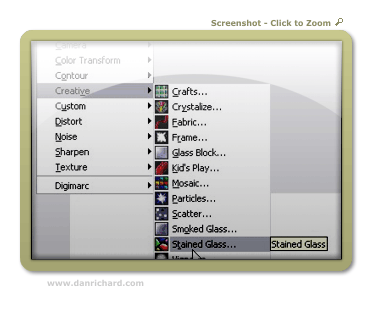
Step 4: Now we’ll need to apply a filter of some sort that will add texture to our ice. I’ve found that the stain glass filter works the best. You can find that here:
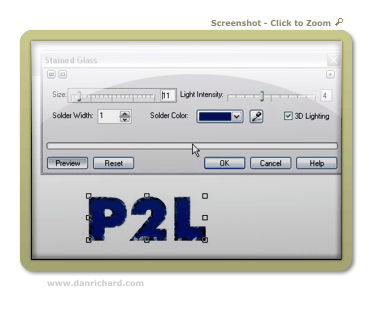
Use these settings and you can see what you get:
Step 5: After you have applied your stain glass settings, make a duplicate of the object we’re working on copy/pasting a new one. You should now have two objects in your object docker – both the same text with our effects. Click on the top object and proceed to step 5.
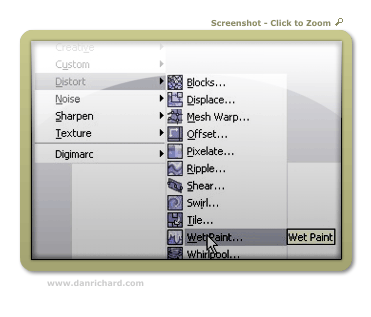
Step 6: We’re going to run the wetpaint filter on the top object so we can have some icicles on our text. You can find that effect here:
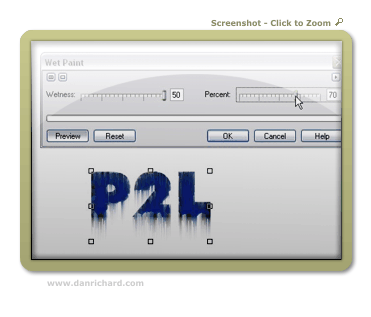
I used the following settings and got this:
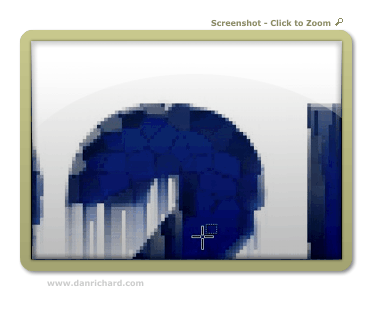
Step 7: Now we have a small issue… the top of the text has “icicles” running down the front. We don’t really want that in there – there should only be icicles hanging off the bottom. So grab your mask or eraser tool and cut away the unwanted parts of the wet paint effect. You can see in this example that I’ve removed the icicles off the top of the “2” but there are still some that need to be cut away on the inside left portion:
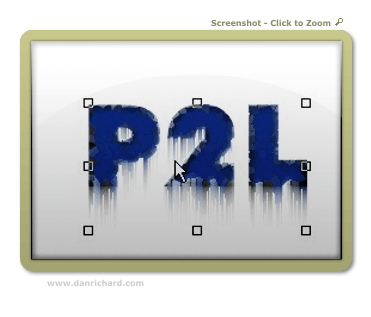
Once you have it all cleaned up, you’ll have something like this:
Go ahead and combine the two objects by selecting them both in the object docker (hold shift and click on each object) and hit ctrl-alt-downarrow
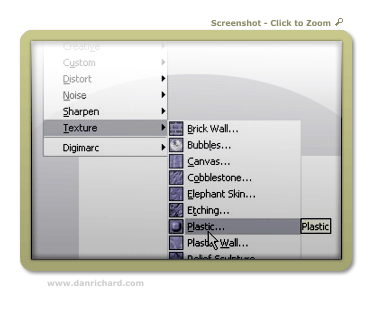
Step 8: Now things start to look like ice! We apply the Plastic texturing effect, which can be found at:
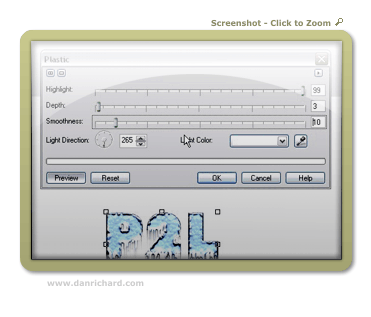
Here are my settings and the results:
Step 9: You’re done! Now we add a dropshadow and some text for the sake of showmanship and voila! Iced text by Faken.

Comments welcome!
Dan
Please be sure to check out my complete tutorial list for more great articles!
One thought on “Realistic Frozen Ice Text Effect in Corel Photopaint v12”
Man you are really cool…!
i needed to show a friend who uses photoshop that corel is not shit, because he showed me like 5 very good designs and i couldn’t battle back.
now i think i can even win!
thanks a lot